At this point in the process, a lot of people watching my work said, “Oh, cool, it looks like you’re almost done!” Well, yes, it looks like that. I mean, it looks like a canoe, for sure. But there was still a ton of work to do. Sanding was a big job, but working with fiberglass and resin is a big job too. Not to mention, I hadn’t even started on the inside yet.
This was also the first time I worked with fiberglass, so I was a bit nervous. It’s probably best to be over-prepared anyway, so this worked out well.
Days Thirteen to Fifteen: Outer Fiberglass
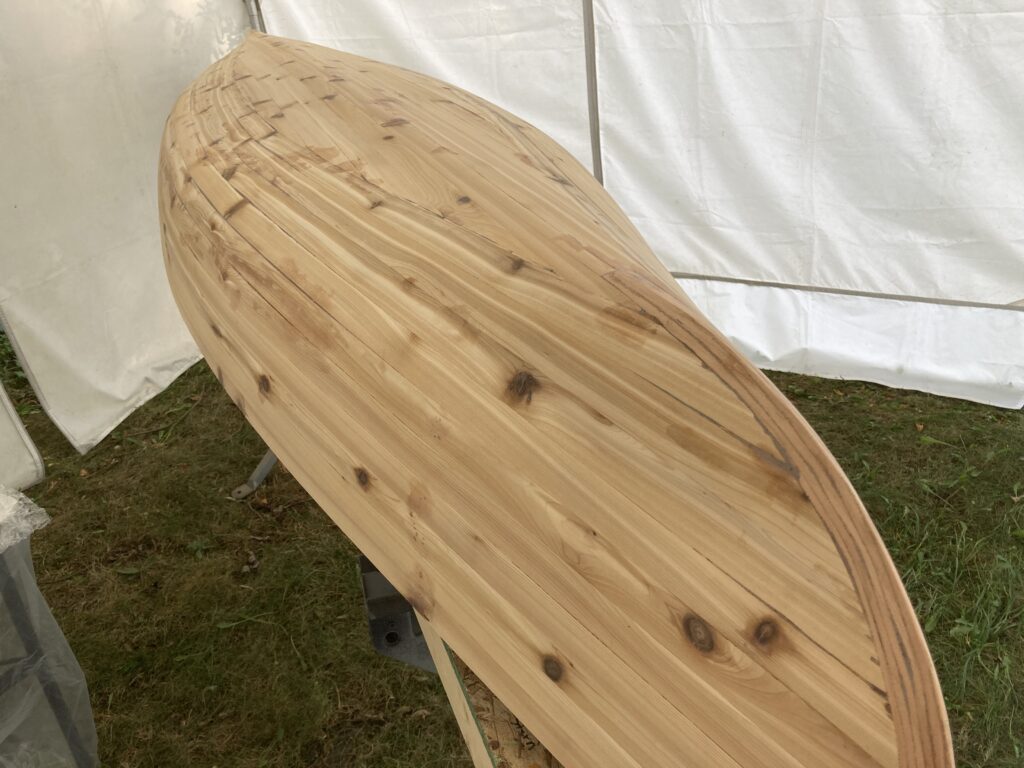
I’ve sanded the hull smooth, I’ve filled the cracks, and everything looks solid. One last look is worth it because once the fiberglass goes on there’s no more touching the wood.
Some people have suggested sealing the wood with resin before laying the fiberglass. I did not see any reason to do this. The benefit is that there’s less opportunity for the resin to soak into the wood and leave the fiber dry. But dry fiber is never good, so I would want to keep an eye on it regardless. So I opted to save a day’s work and just plan on putting the resin on heavy.
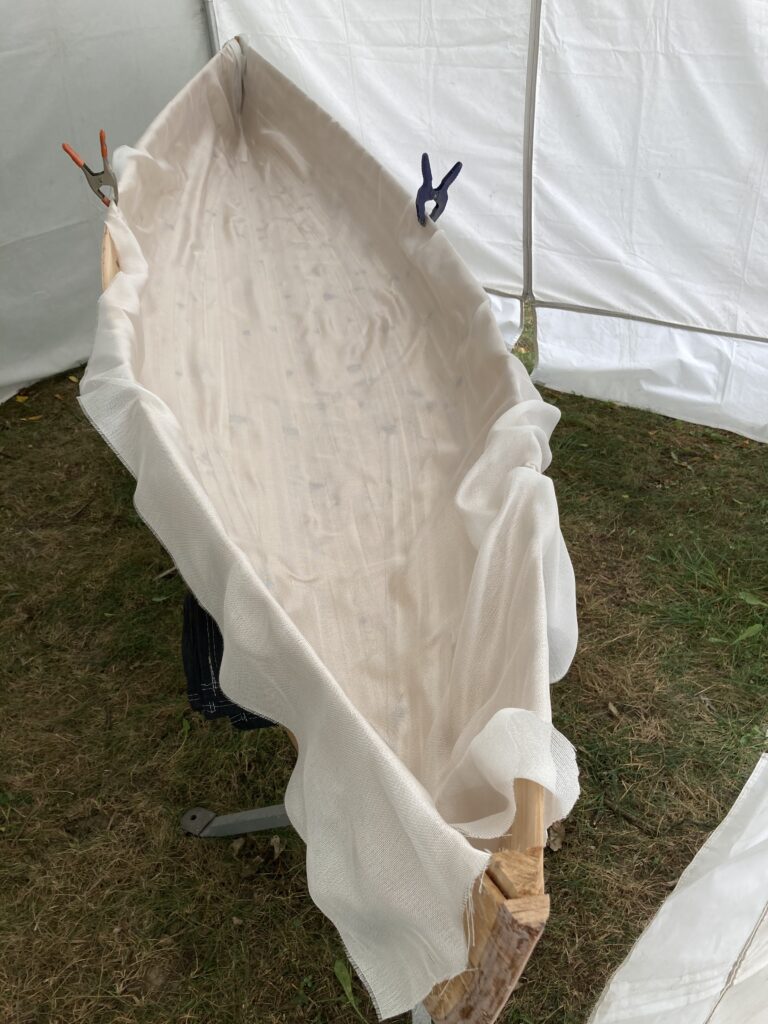
Working inside a tent to (hopefully) keep bugs and debris from making a mess, I started my making sure my workspace was clean. I got out my roll of fiberglass and draped a section of cloth over the hull.

Cutting it to size was relatively straightforward. The bow and stern were where things would get a little tricky. I opted to cut it just short of overlapping and then added a separate piece later, after the first had set. I figured a little extra strength near the bow and stern couldn’t hurt. Some people have tried folding the single cloth over these edges, but that sounded like way too much fanciness for my first time.
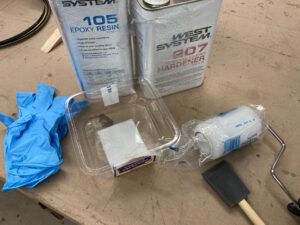
Before I got anything wet, I made sure I had all my tools laid out and ready to go. Once the epoxy gets mixed, I knew I had to work quickly. In addition to the tools pictured, I used a plastic spreader for the first coat.
The best advice I got was to get the epoxy out of the mixing container as quickly as possible. Even mixing a relatively small batch at a time, it has a tendency to catalyze very quickly when it is in a container. Once the resin was on the hull, spread out, it would stay workable for a much longer period of time.
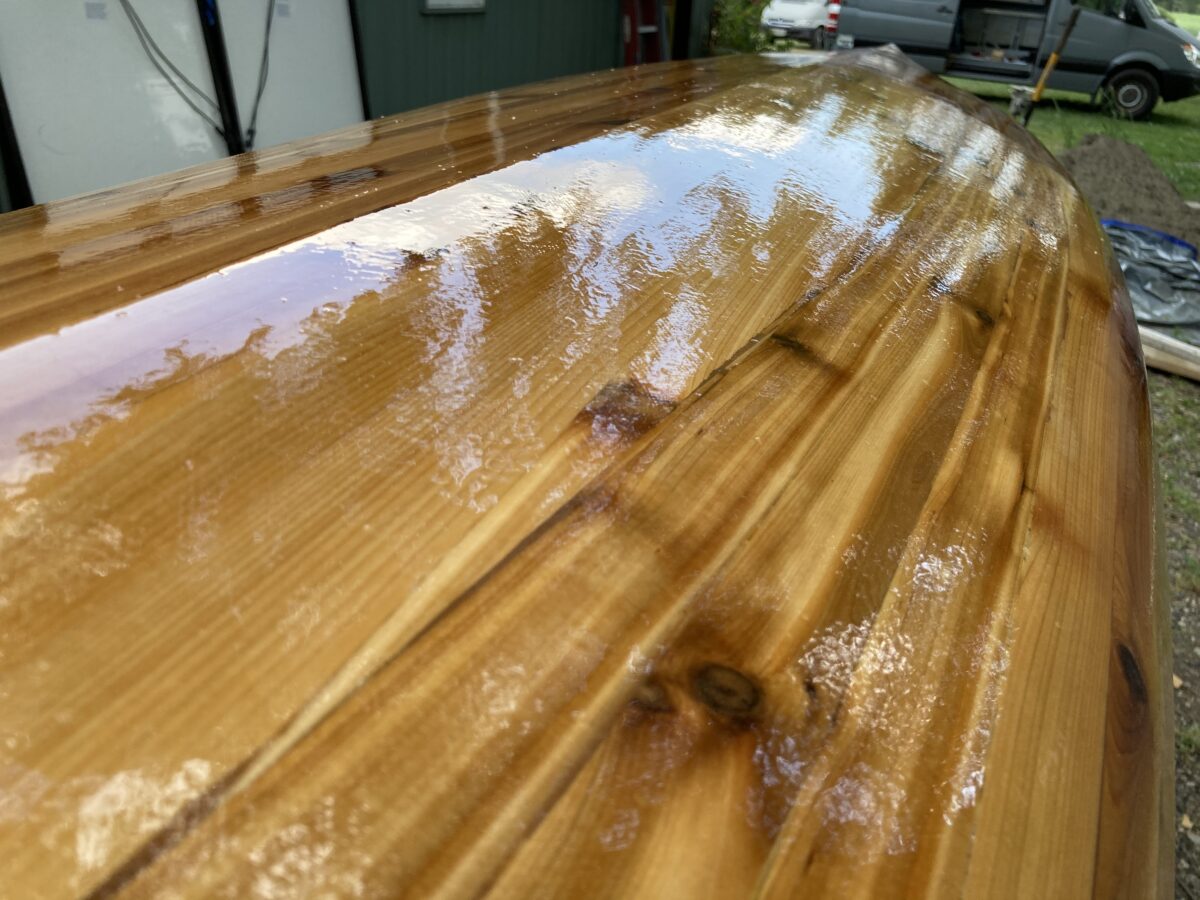
Starting in the center of the boat, I poured on the resin and then spread it around. I worked from the center to the edges to make sure the fiberglass cloth stayed wrinkle-free, and I always kept a wet edge from one batch to the next to make it easy to keep things moving around as necessary. Working this way, it was pretty easy to avoid wrinkles or bubbles. Spreading the resin ahead quickly to get it out of the container, I would periodically and repeatedly go back over the already wet areas to deal with any dry spots or bubbles.
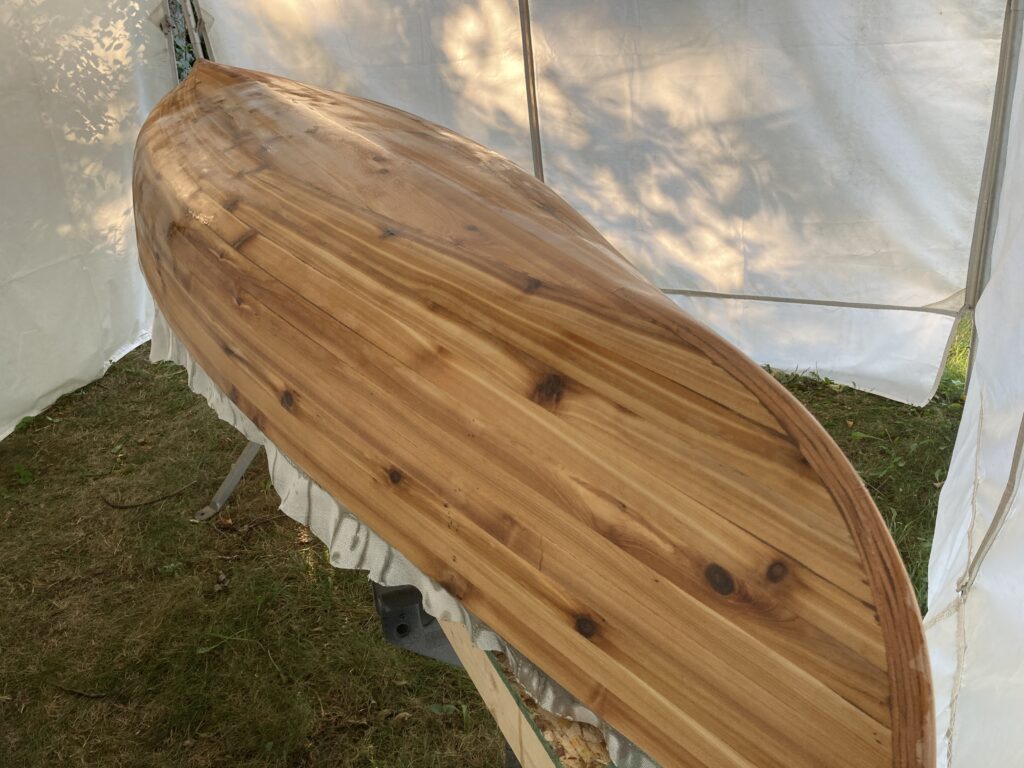
It took about a full day in between each coat of resin for it to harden enough to be able to sand it. About three coats were necessary to fill in the texture of the cloth. At that point I could start working earnestly on getting a smooth surface. A fourth coat took care of any final rough spots.

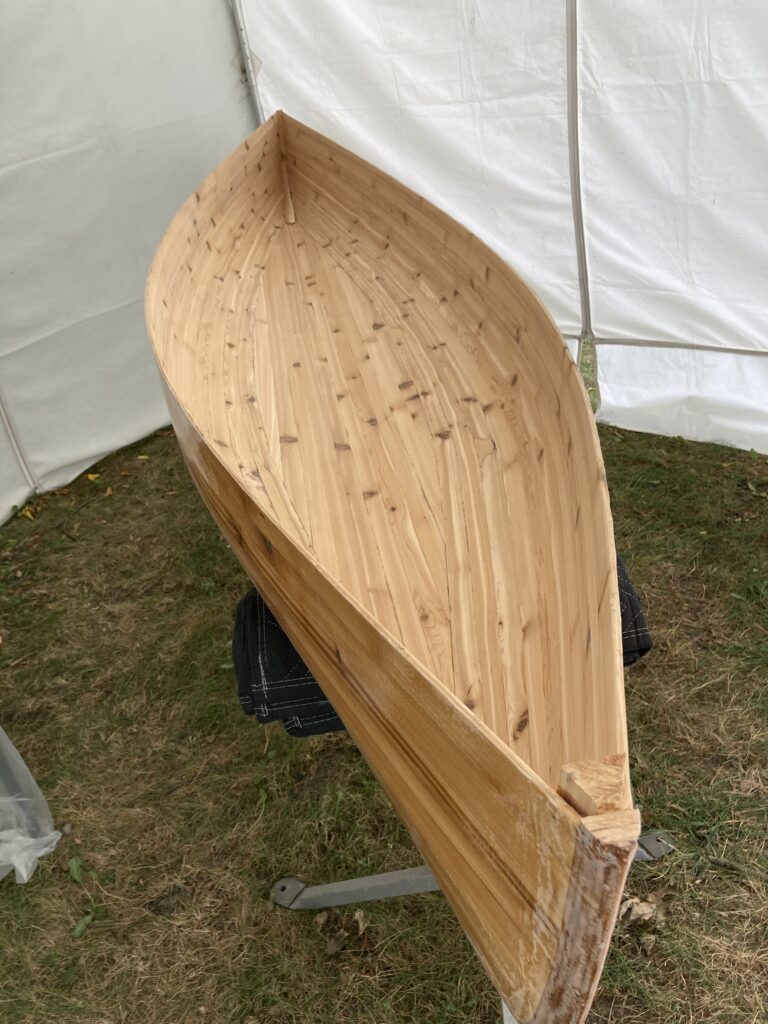
Day Sixteen: The Unveiling
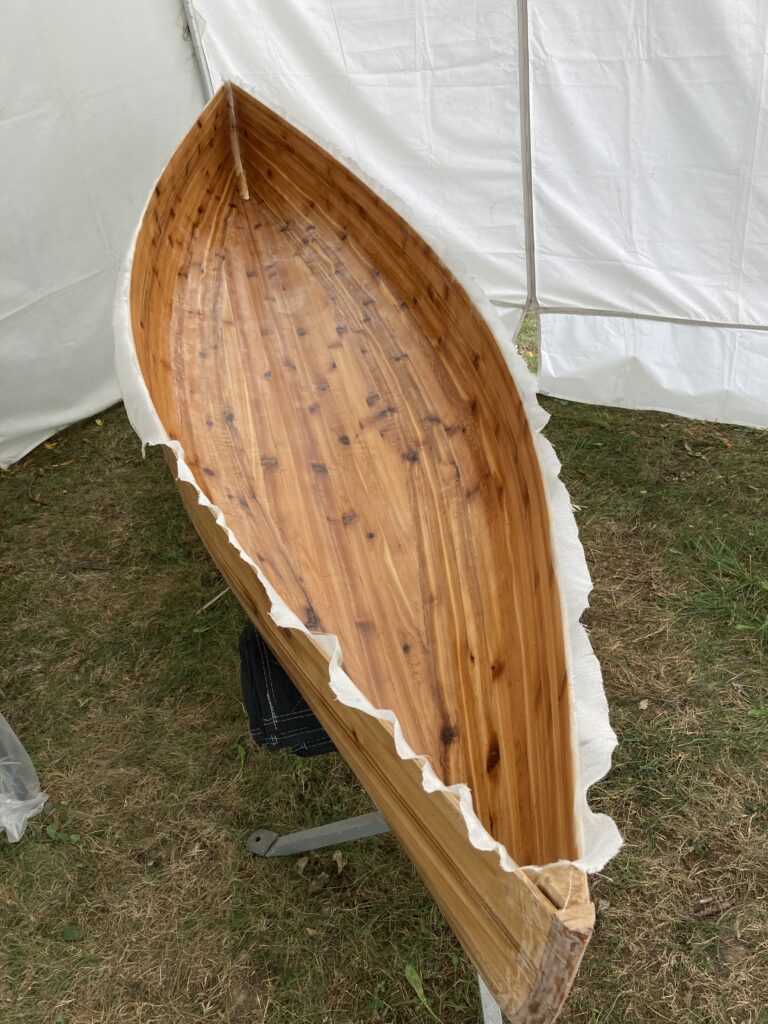
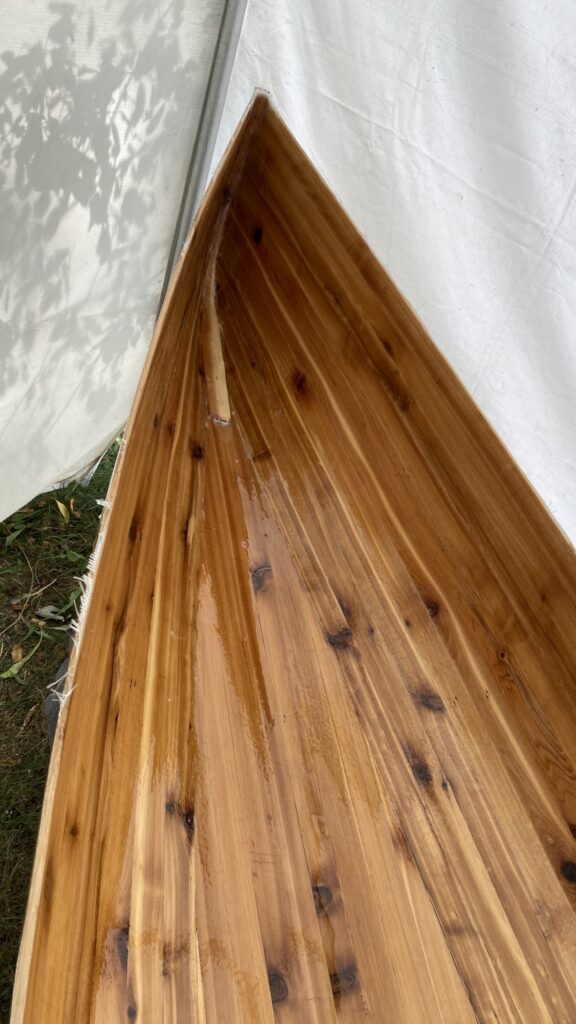
There was a moment of truth when, once the outside of the hull had its fiberglass, I was finally ready to pull the hull off the molds and see the inside of my boat for the first time. Remakably, it came off without too much struggle. (Planning ahead helped! In addition to doing my best to keep glue off my molds, I also lined them with masking tape just in case. Where any glue leaked through, the hull was just glued to the tape, not to the wood of the molds.
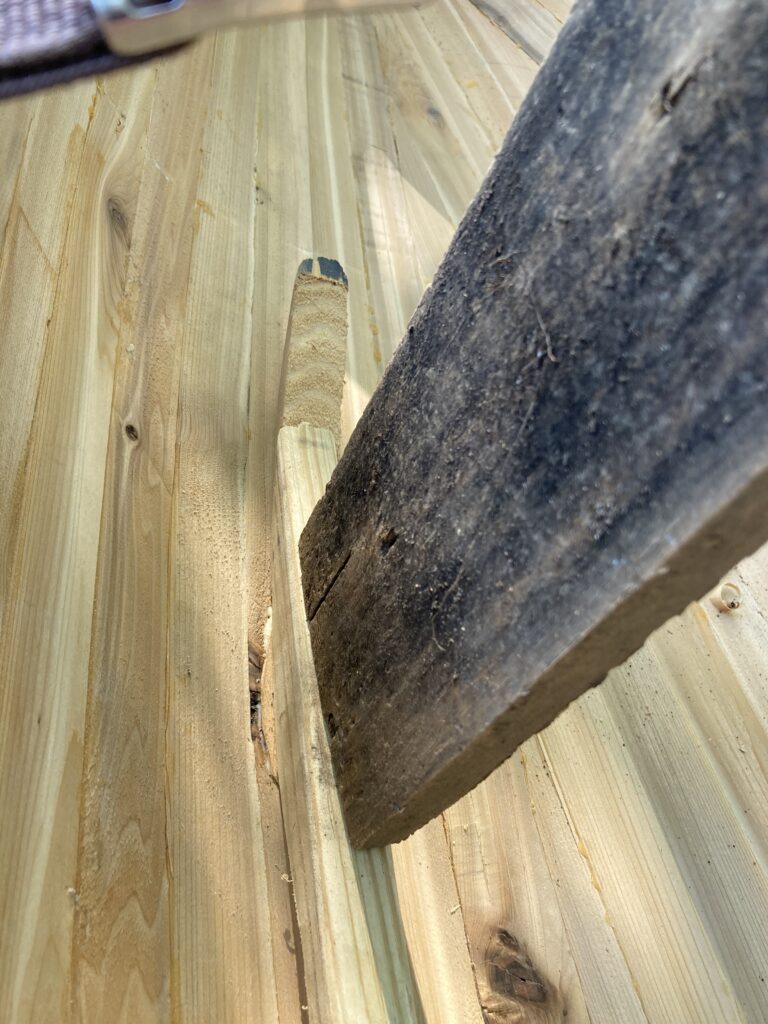
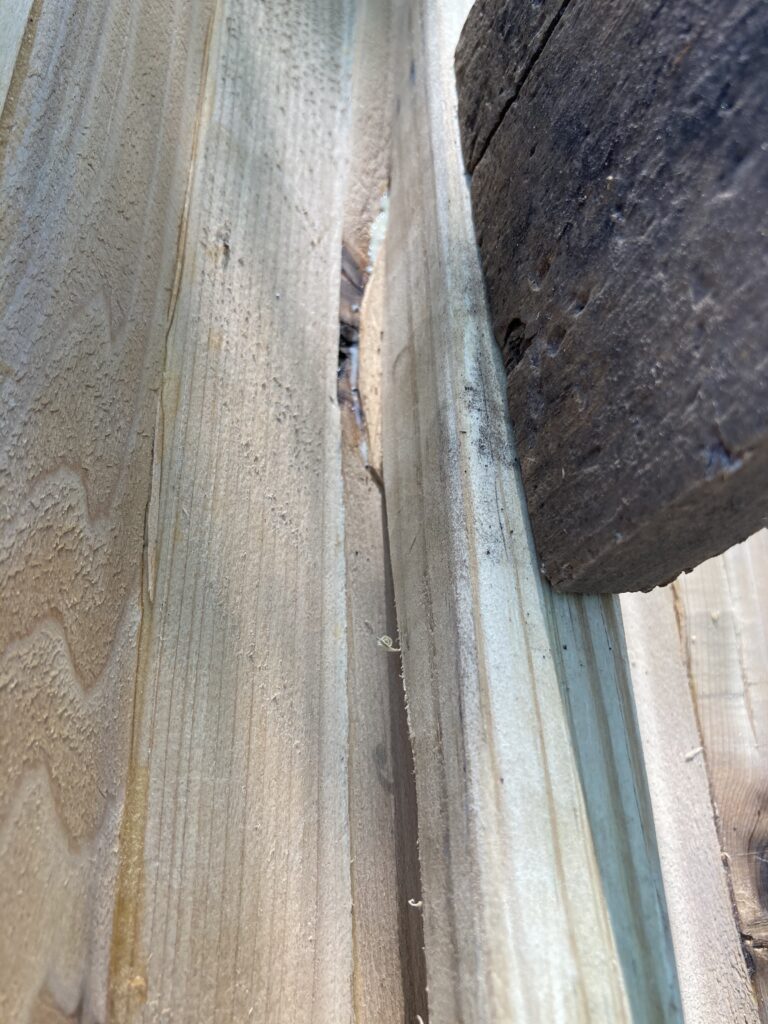
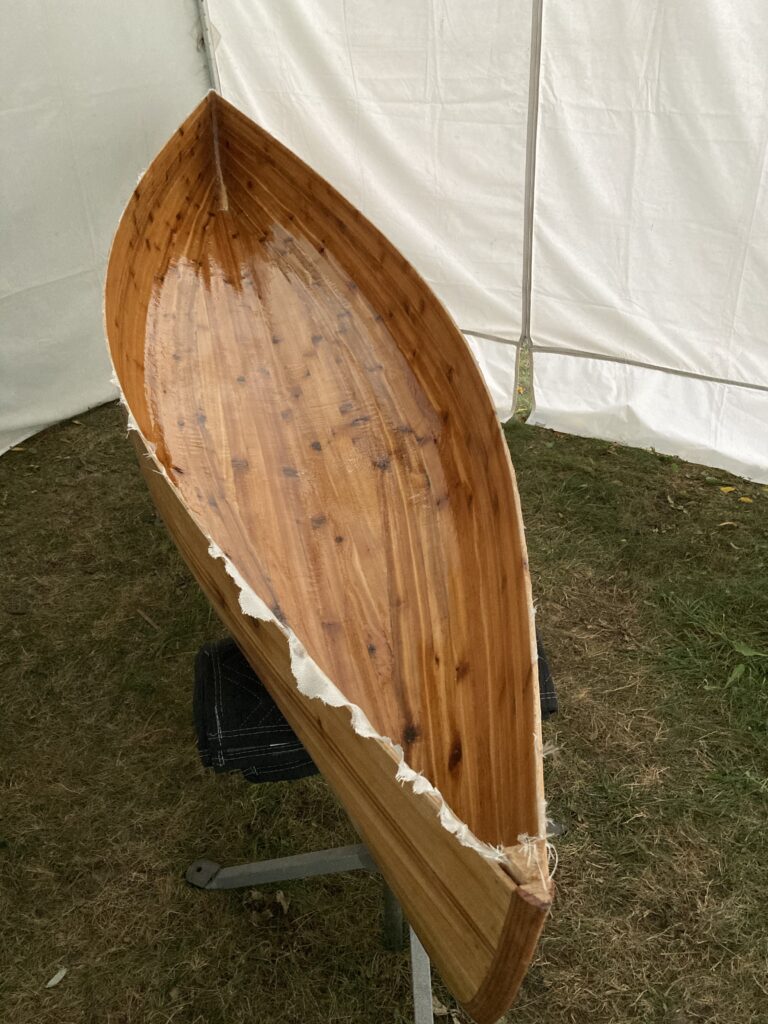
Before I got too far into sanding the inside, there was one bit of patchwork to do. If you read the previous post, you may recall that one piece buckled a bit and I laminated an extra piece of wood onto the outside so I could sand it smooth without making the hull transparently thin. I did the same thing on the inside to the adjacent strip.
Days Twenty-One to Twenty-Three: Inner Fiberglass
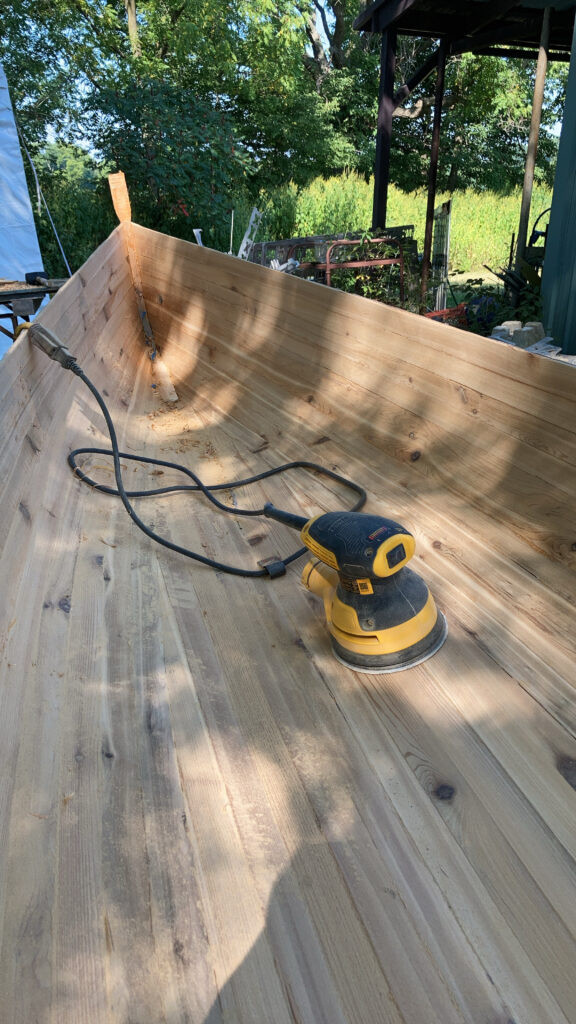
Sanding the interior of the hull was a challenge. I didn’t have the proper flexible foam pad for my orbital sander, so I ended up doing more work than I would have preferred by hand. Laying fiberglass on the interior was a challenge too, because resin had a tendency to pool in the bottom of the boat and it was a tricky dance to keep the cloth tight enough that it wouldn’t wrinkle while still slack enough to hug the wood and not pull up or bubble.
Overall, though, working with the epoxy resin was essentially the same as on the outside. While I ended up with a few thick spots of resin in the bottom of the boat, I was generally satisfied with the outcome. There’s nothing I necessarily would have done differently, but certainly practice would help. Maybe by my third boat I’ll have the process mastered!
Leave a Reply