When we left off I was nearing the end of stripping my canoe. I only had a few pieces left, but of course the details always take the most time.
Day Eight: The Final Strips
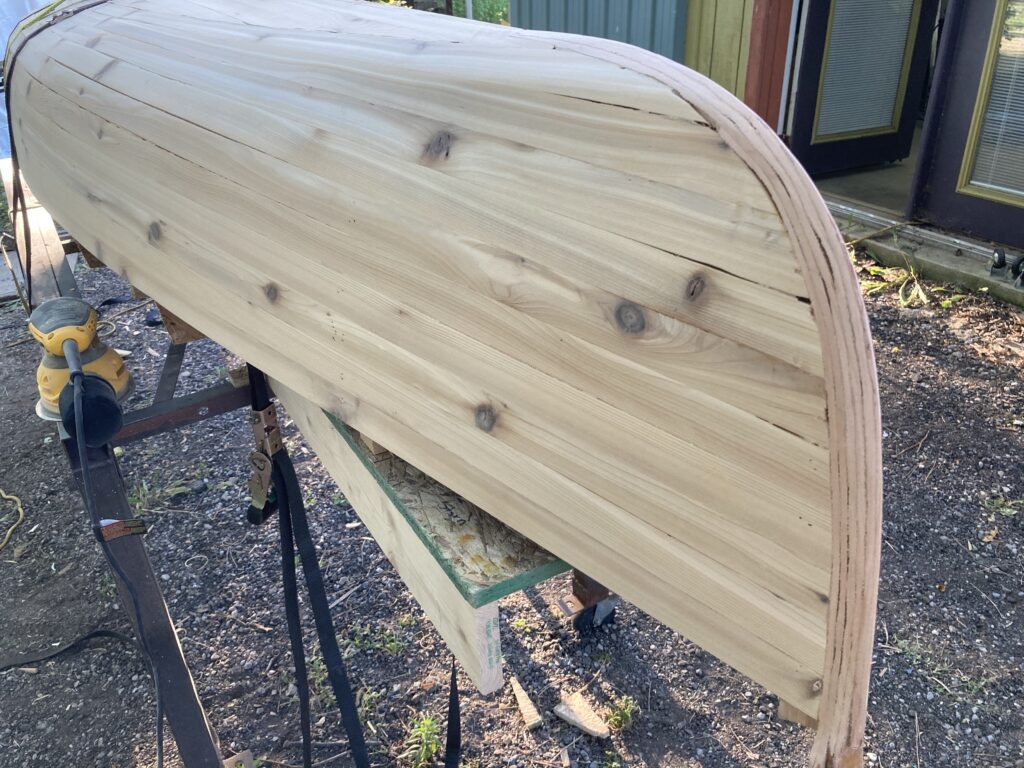
Working from the keel line out now, the strips went in very easily. By design, I didn’t have to bend them much at all. The challenge became cutting the pieces to just the right length to fit them against the strips already on the canoe. As I worked my way down to the edge of the “football” shape that makes the bottom of the canoe, the fitting was less about cutting to the right length and more about matching an arc between two pieces of cedar.
The penultimate strip on each side was almost all arc. The last strip ended up being only about a quarter inch wide at its thickest point, working down to nothing at each end.
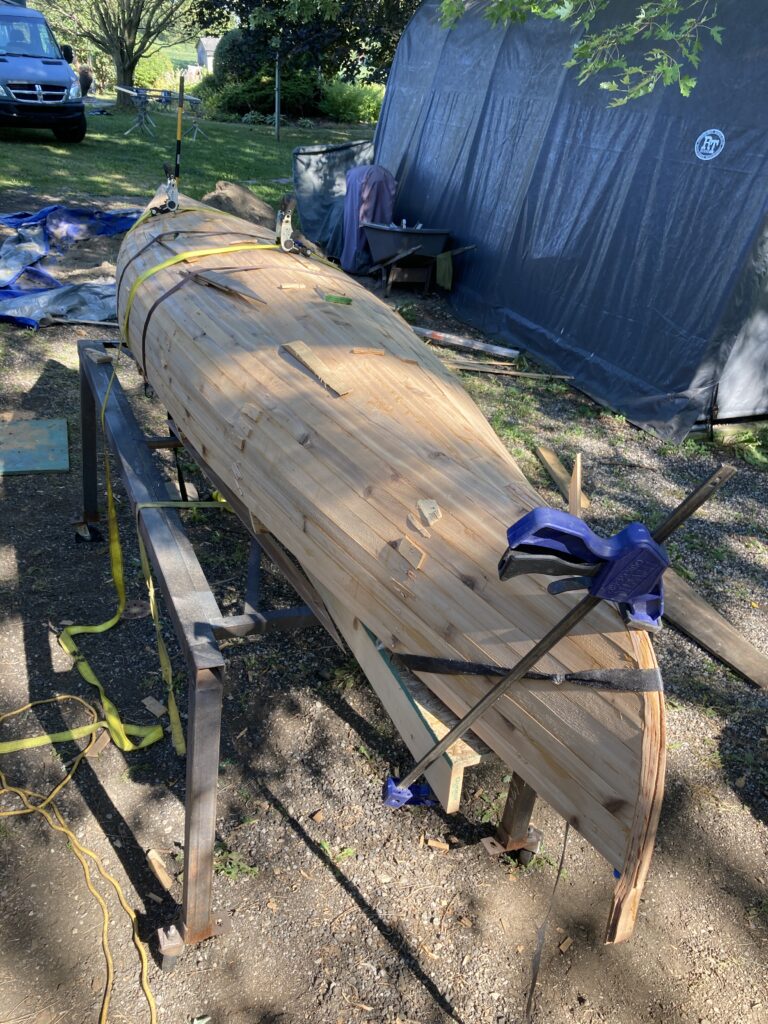
I was pleased to see the symmetry in what I did. The final strips on the port and starboard matched in shape and size almost exactly. A few final straps to pull everything together while the glue set overnight, and then I could get into some serious sanding.
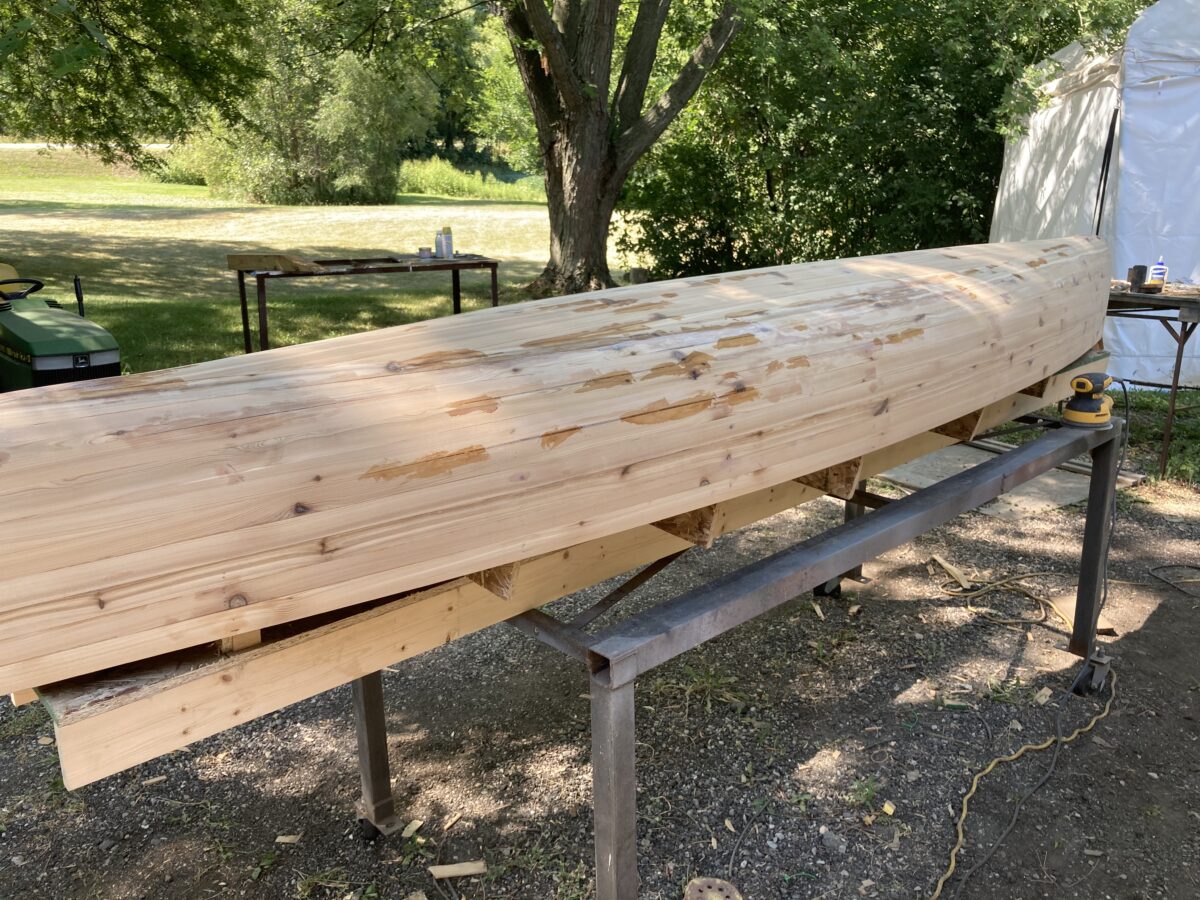
Days Nine to Twelve
Sanding was a big job. The soft wood made the work relatively easy, at least. This is when I got to work over any rough spots (literally and figuratively) to make sure everything was nice and smooth.
Remembering some minor fails
I chose cedar that was more-or-less solid but definitely not clear. This was part availability and part cost. And part of me saw the wood and thought it would look really cool. For the most part the knots were not a big issue, but it was something I had to think about a few times. First, when we were cutting the strips, a dozen or so of them broke before we even got them through the milling process. Although the wood looked tight on the outside, when we cut it thin enough some of the knots went all the way through at a fatal angle.
Remarkably, I only had one strip snap while I was placing it on the canoe. I had enough extra strips, so I just grabbed another.
Of course, I also did some planning to make sure that as I was laying strips I didn’t have any big knots right next to each other.
At one spot, the joint between two strips … didn’t quite work. While things were curing overnight one night, apparently a local density variance caused an uneven warping of the wood. Well, see for yourself.
Snap 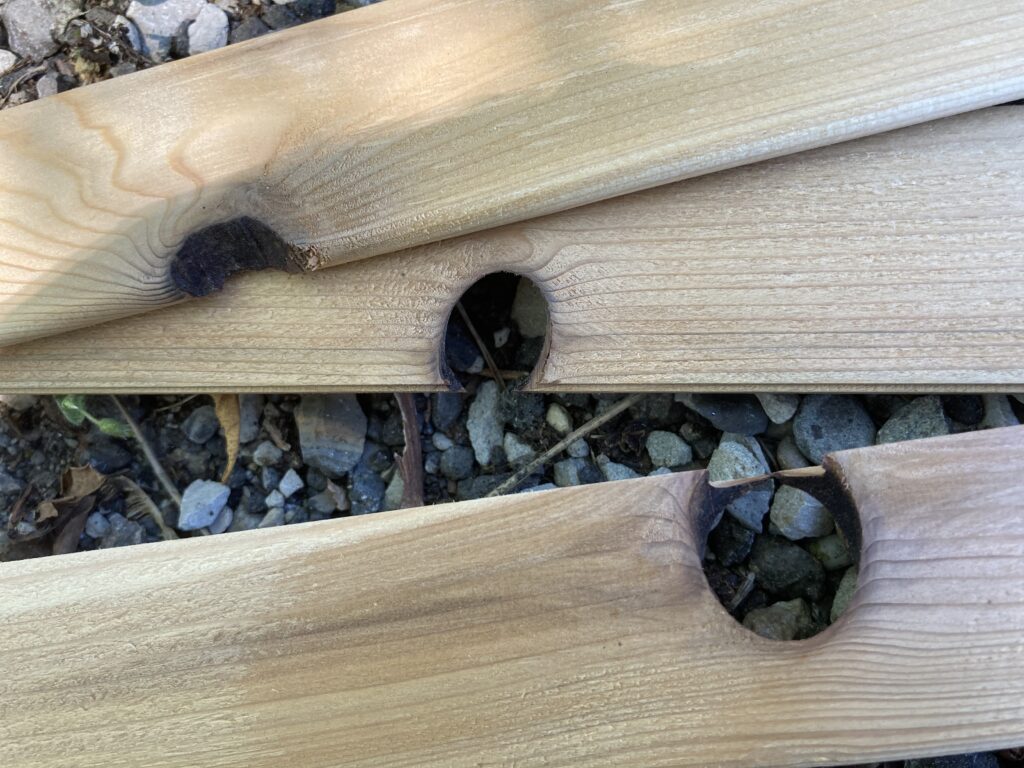
Pop 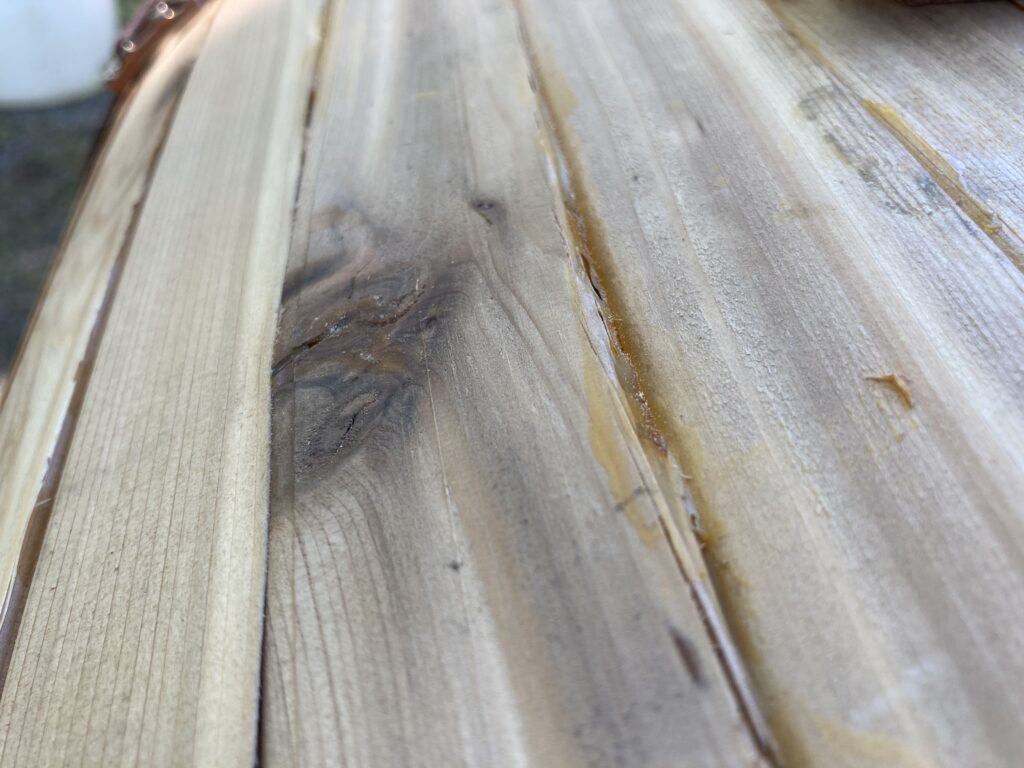
Buckle
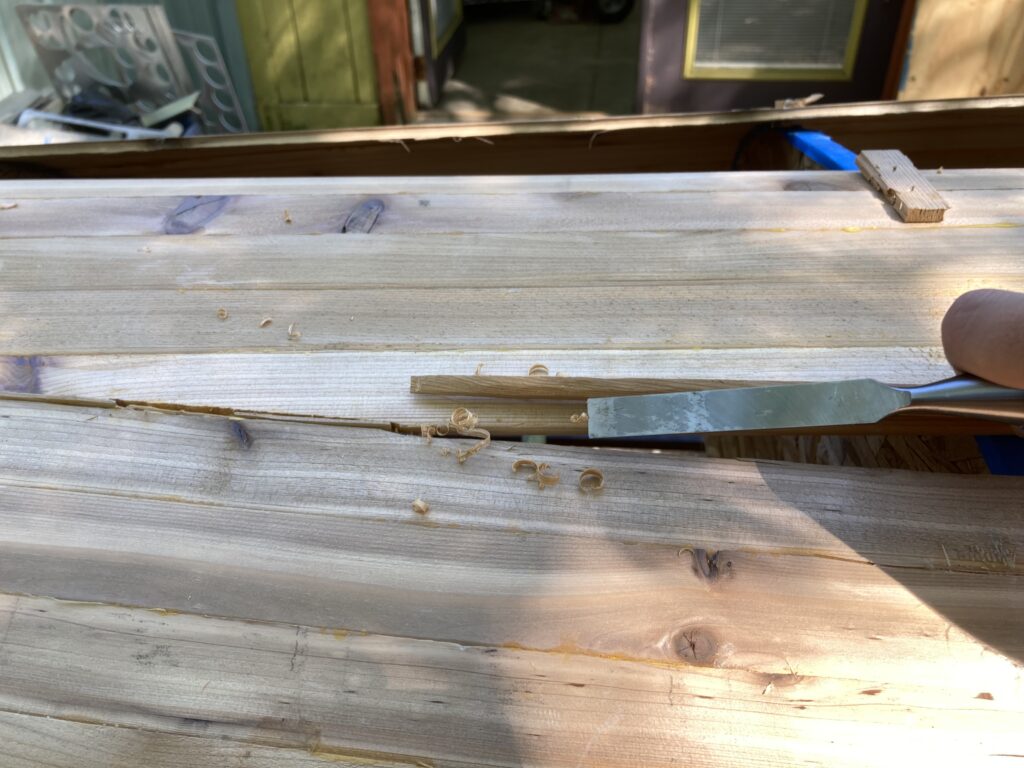
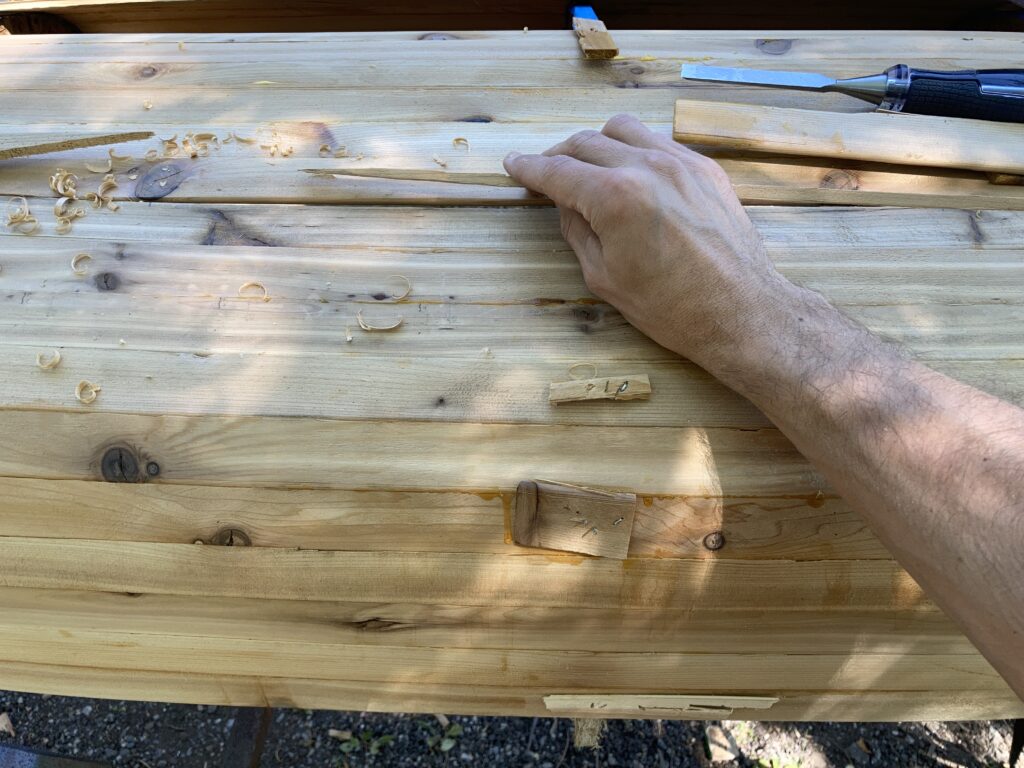
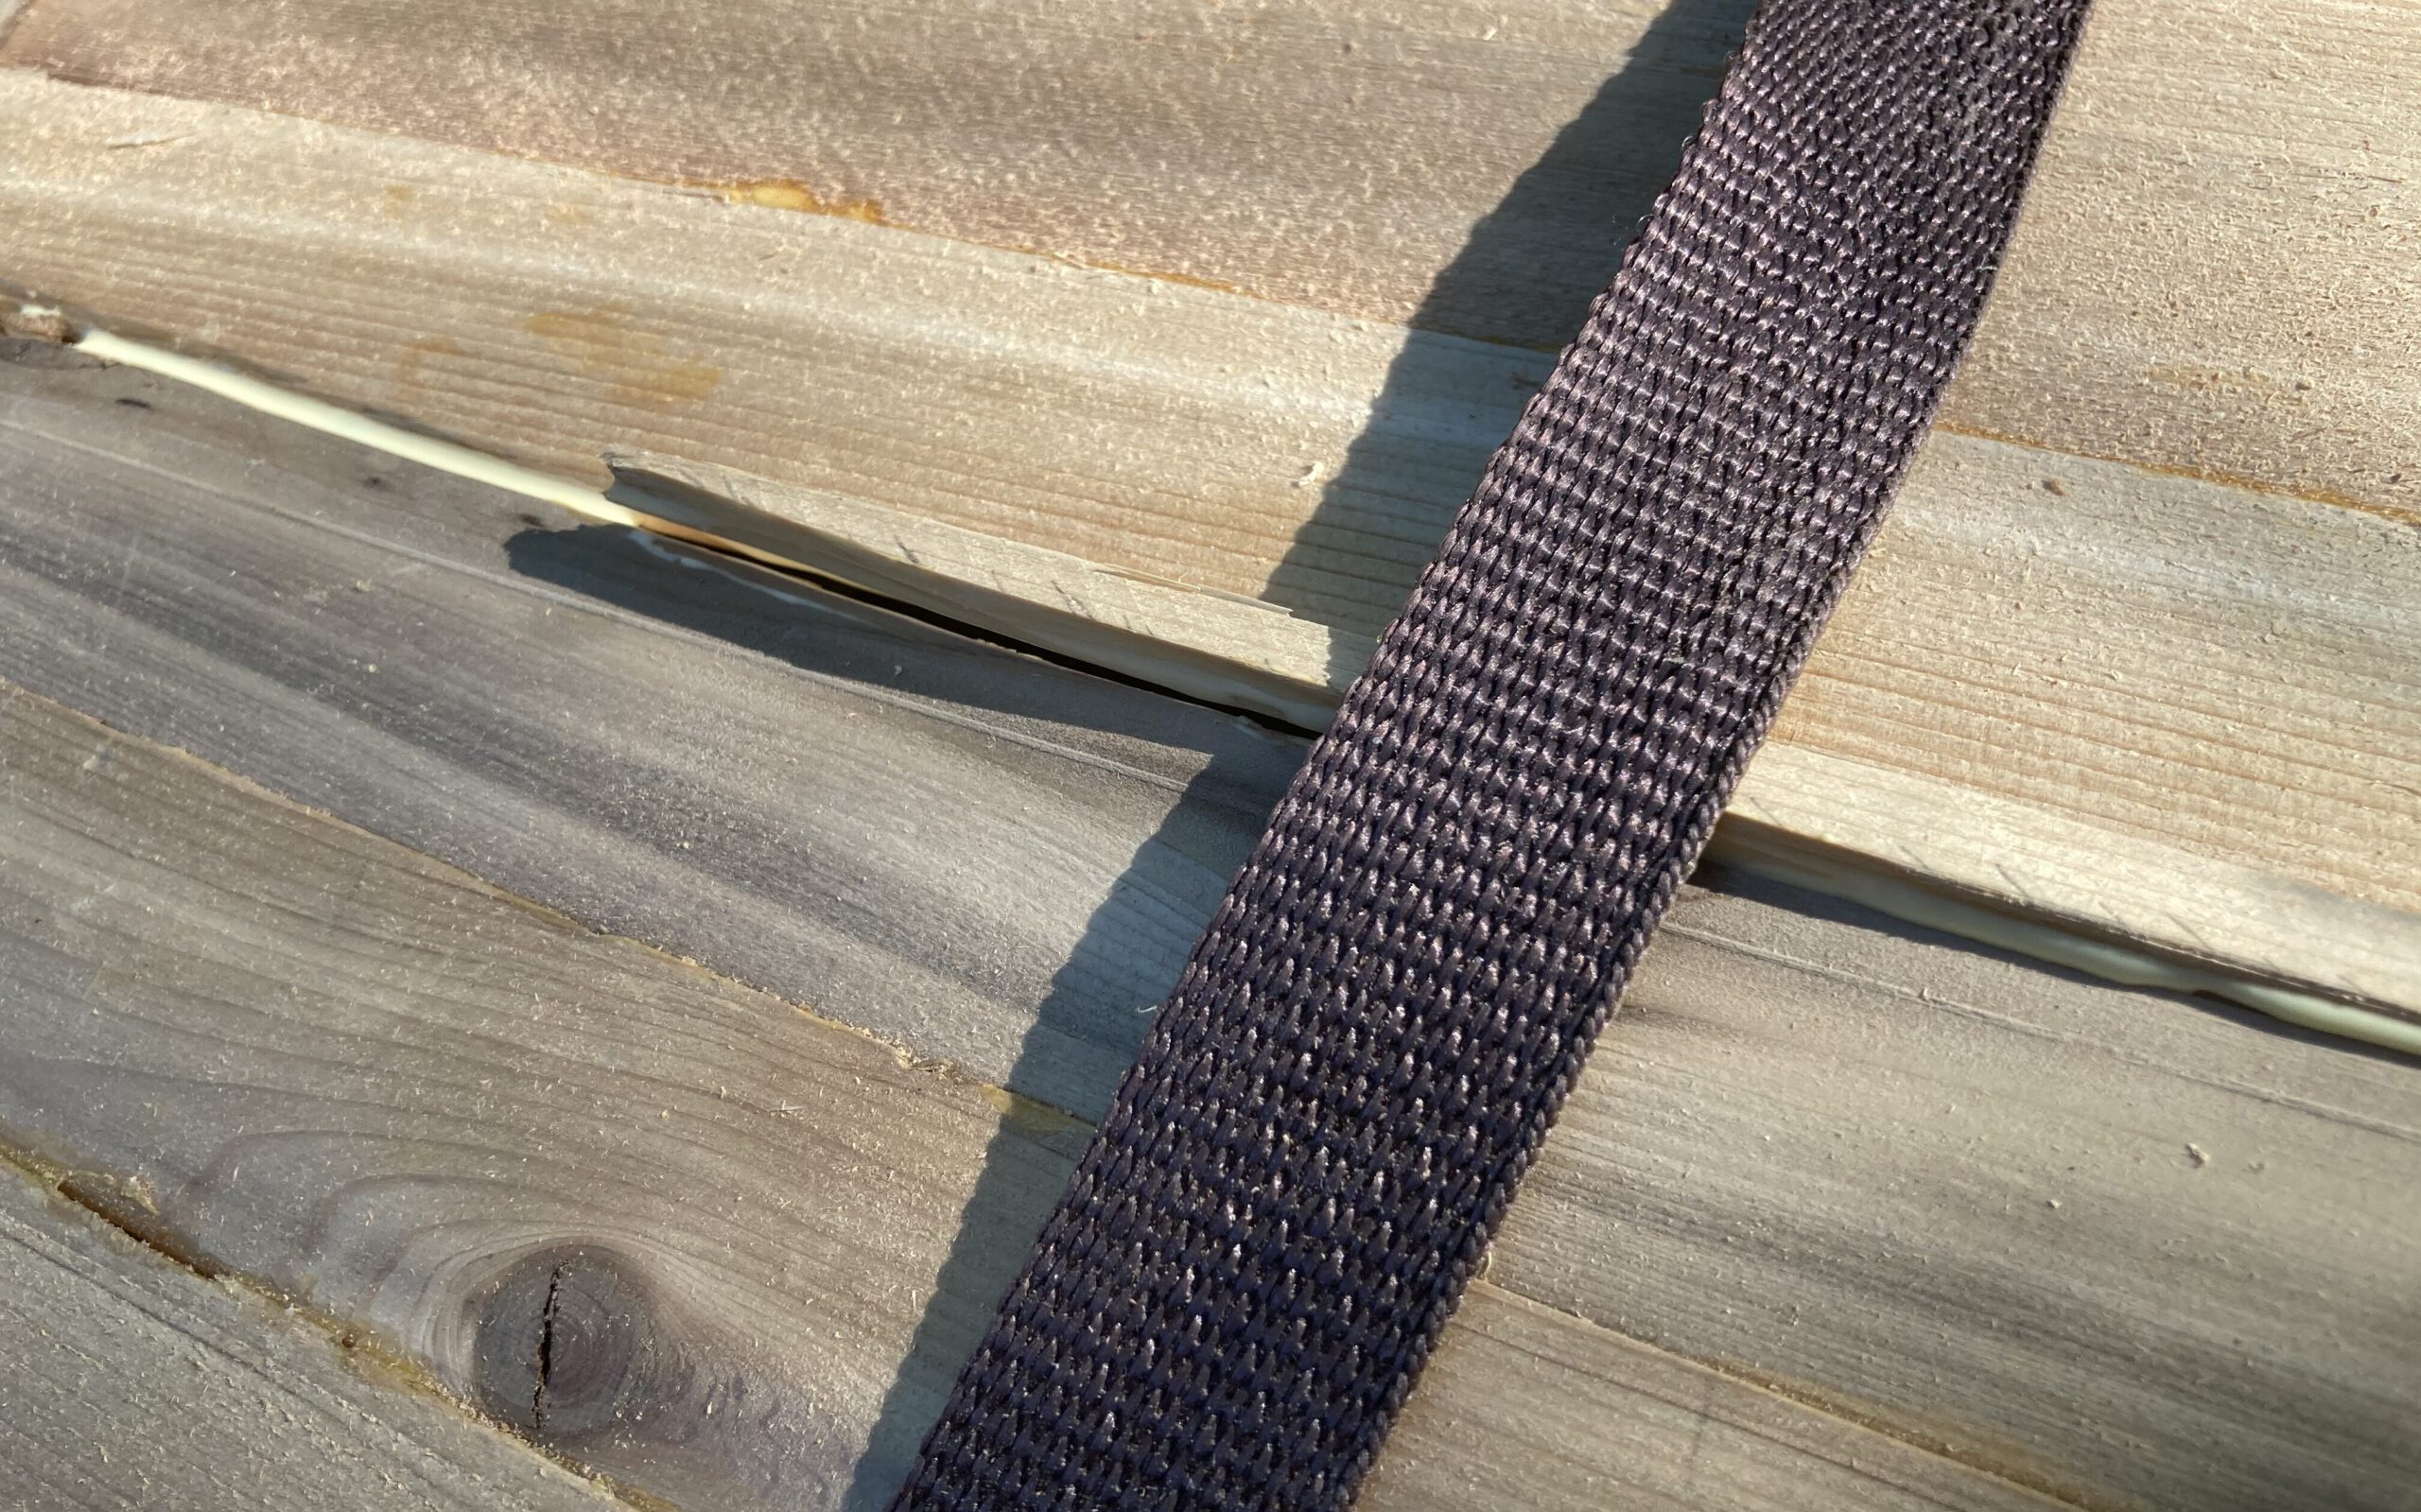
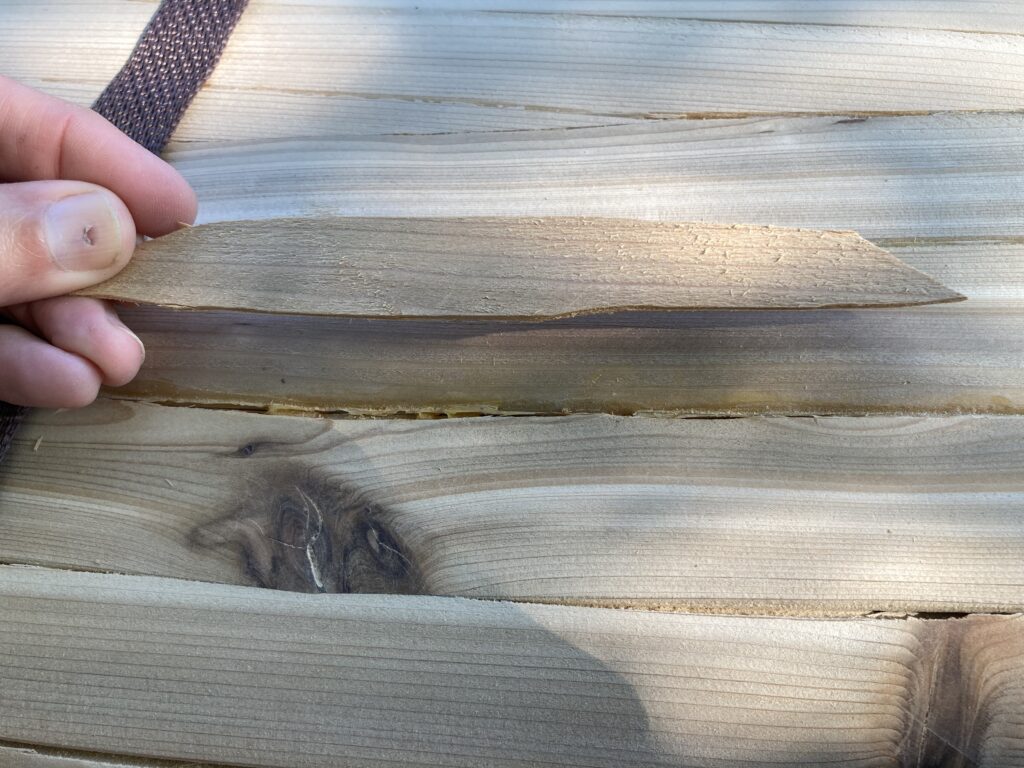
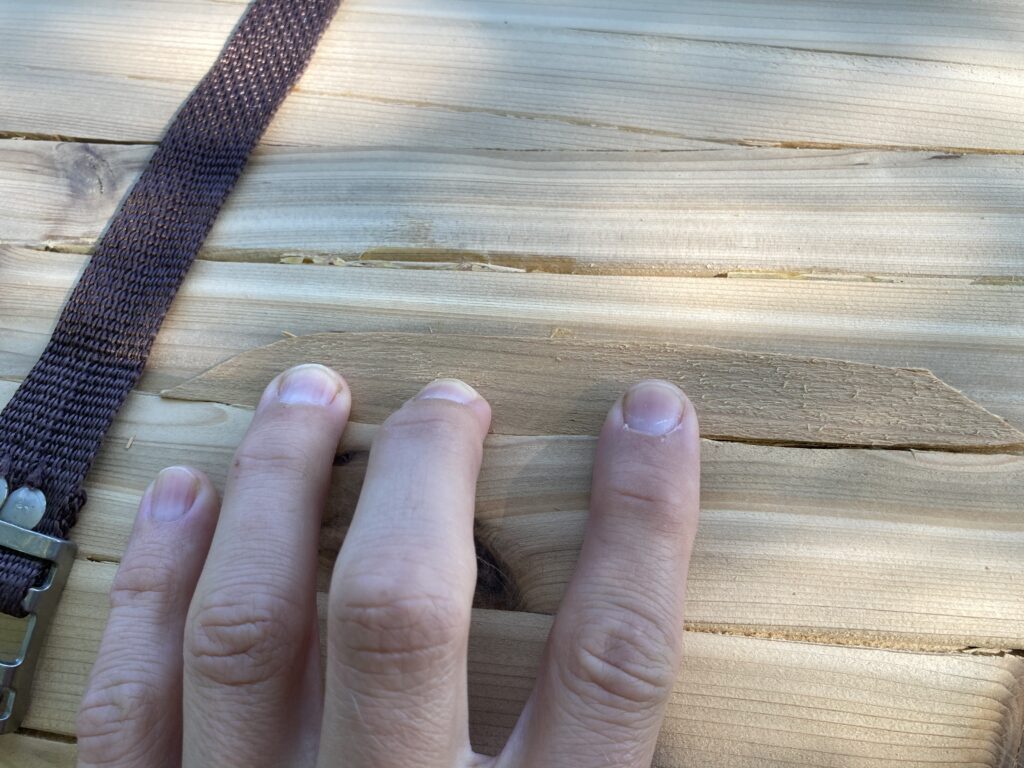
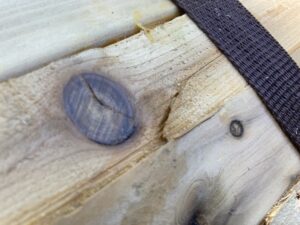
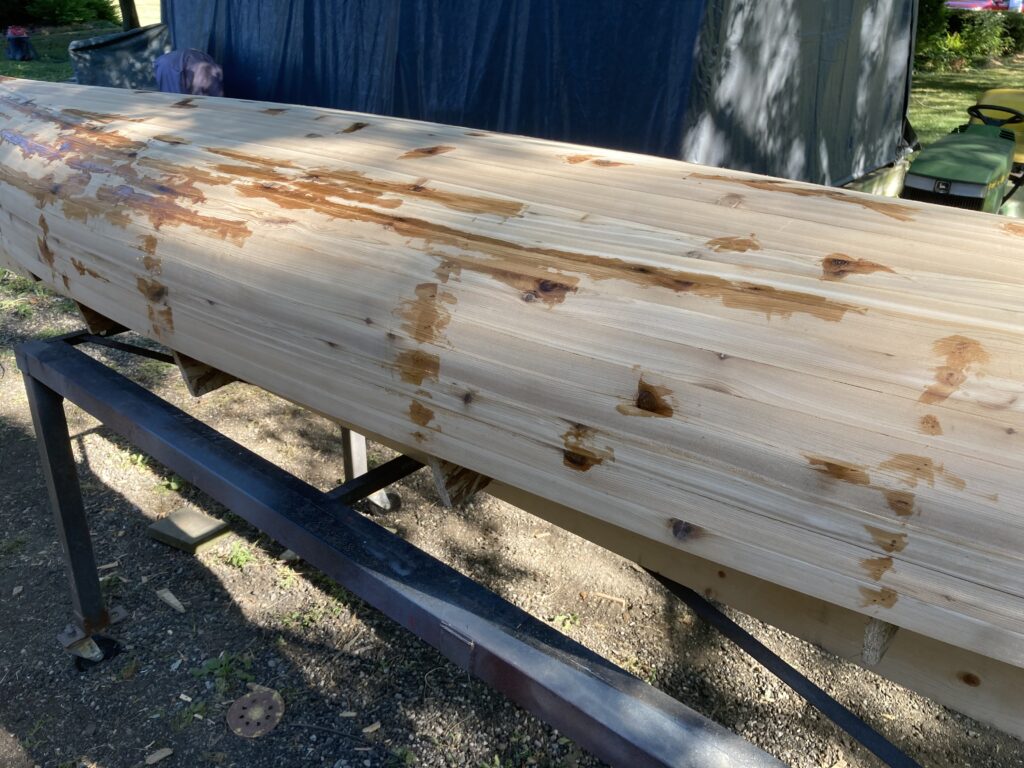
One knot was a little less solid than it should have. It developed a minor crack which made for a sharper-than-ideal warp in the strip at one point. The result was a gap and one strip pushing out from the other.
I was worried that if I tried to sand it smooth I’d sand all the way through one or both of the strips. So I laminated an extra piece of wood in there before I sanded it smooth. (Note the similar treatment on the inside, mentioned in the next post.)
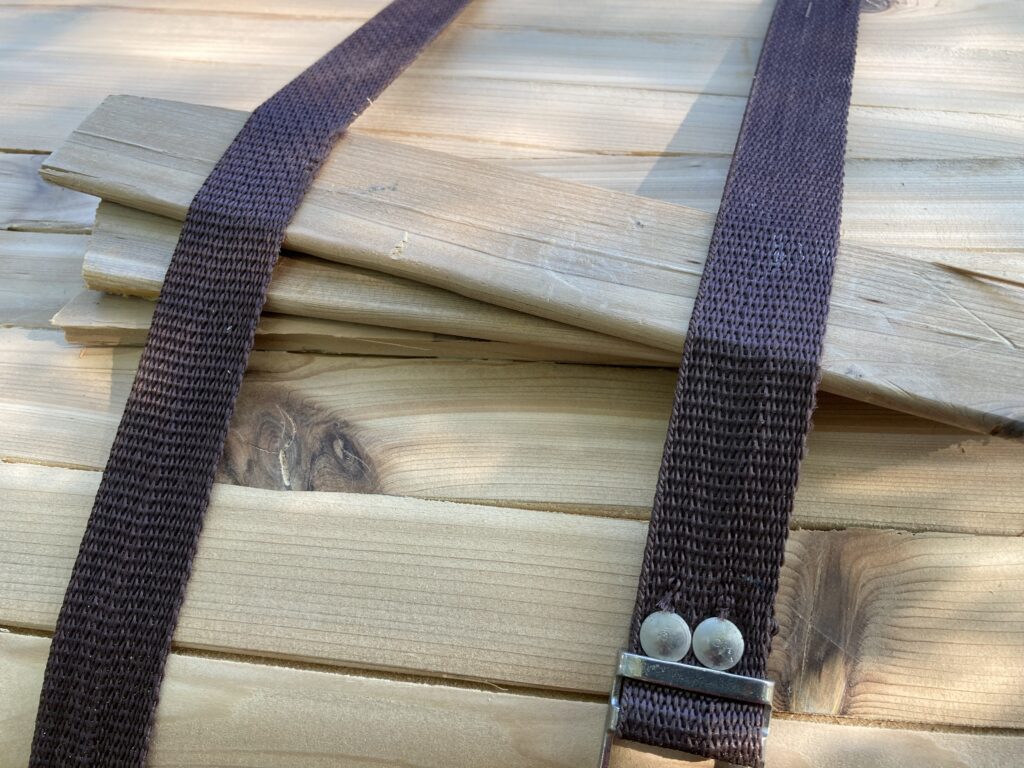
One other strip developed a small crack as I was bending it into position. I don’t know if this was a weakness in the wood or just a weakness in my technique.
Either way, in this case I just put a little extra glue and a strap across the problem area. It turned out fine.
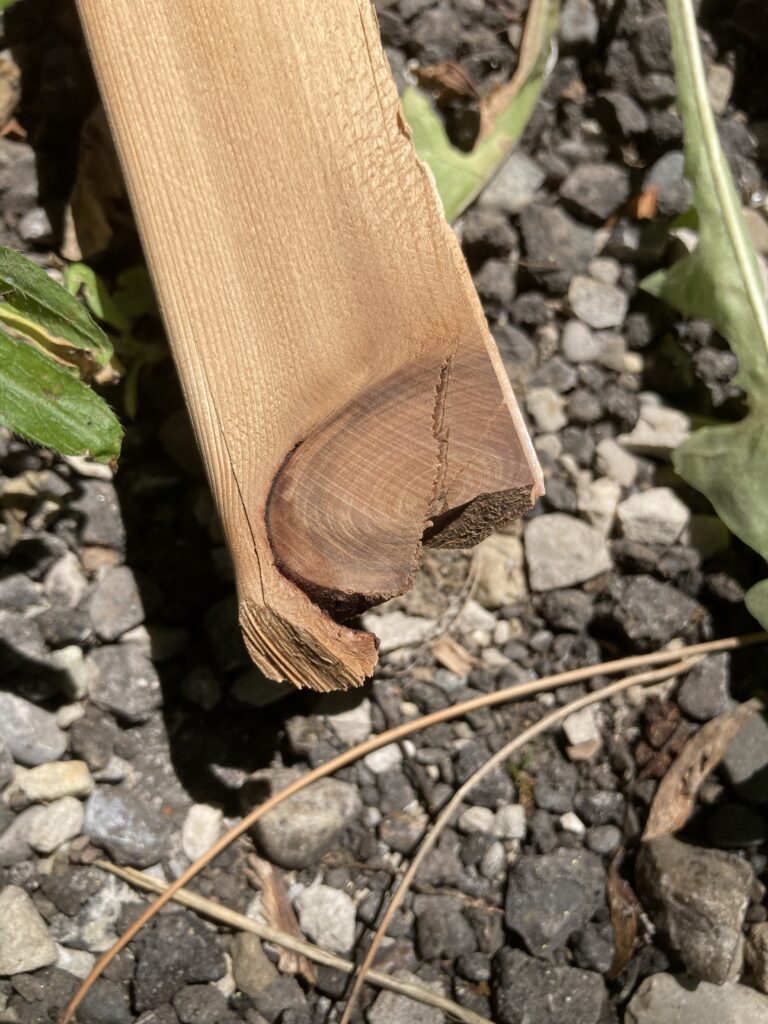
Shaping the stems
Since I laminated the outer stems onto the hull of the canoe, there was a lot of shaping that needed to be done still. But it was not especially complicated. I used a saw, an angle grinder, and then my random orbital sander until the stems matched the shape of the hull.
Filling gaps and holes
Finally, I pulled out whatever fasteners I used while installing the stems, and I sanded everything smooth. It was at about this point that I mixed up my first batch of West System epoxy to fill some holes and gaps.

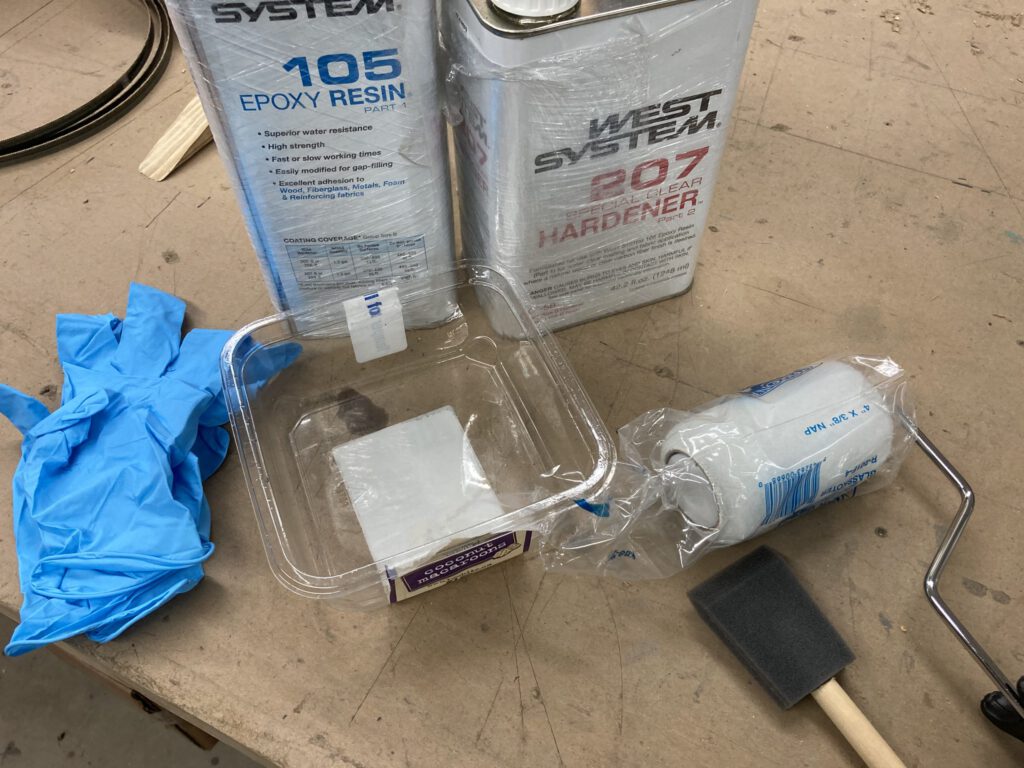
Epoxy with a bit of sawdust and cellulose filler made a nice paste to fill any cracks or holes left from poor craftsmanship or fasteners.
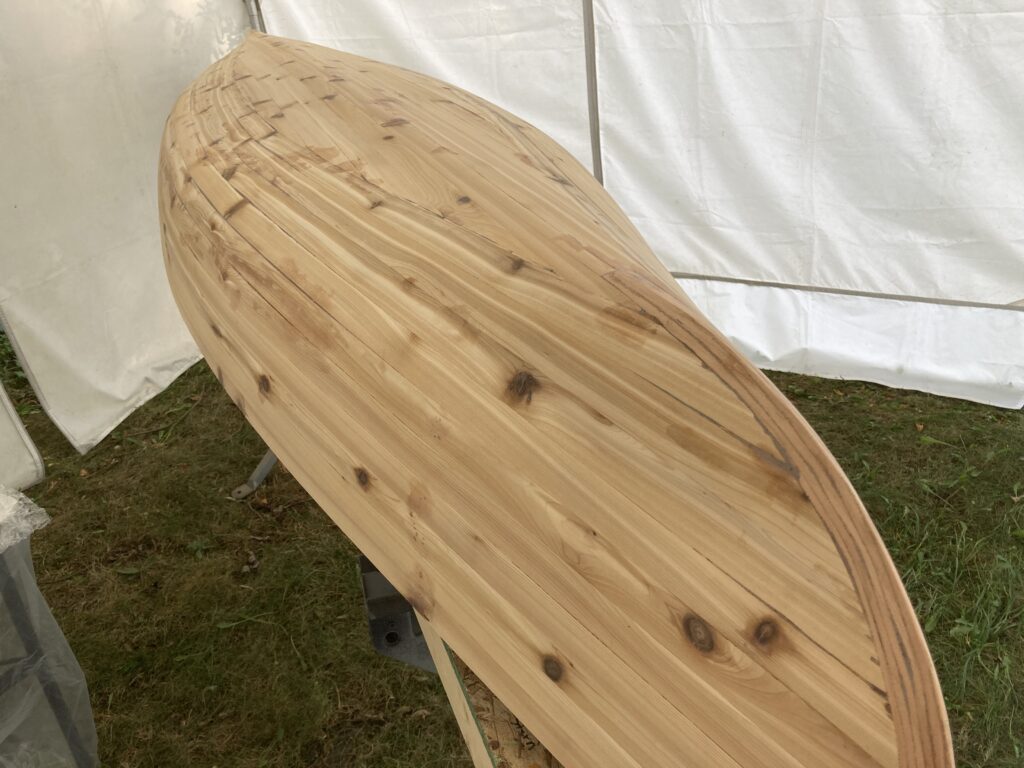
After a final sanding, the last step was to move the boat into a nearby tent in an attempt to keep the bugs and dirt off of it while I worked with the fiberglass and resin.
Leave a Reply