Installing the trim on my canoe was probably the most rewarding part of the process. This is where I could really customize things and make it my own design. All the trim is cherry, sourced from a local purveyor of fine hardwoods. I almost was able to source the cherry from the backyard of my parents’ home, but the timing didn’t quite work out. But that wood will make a beautiful future project, I’m sure!
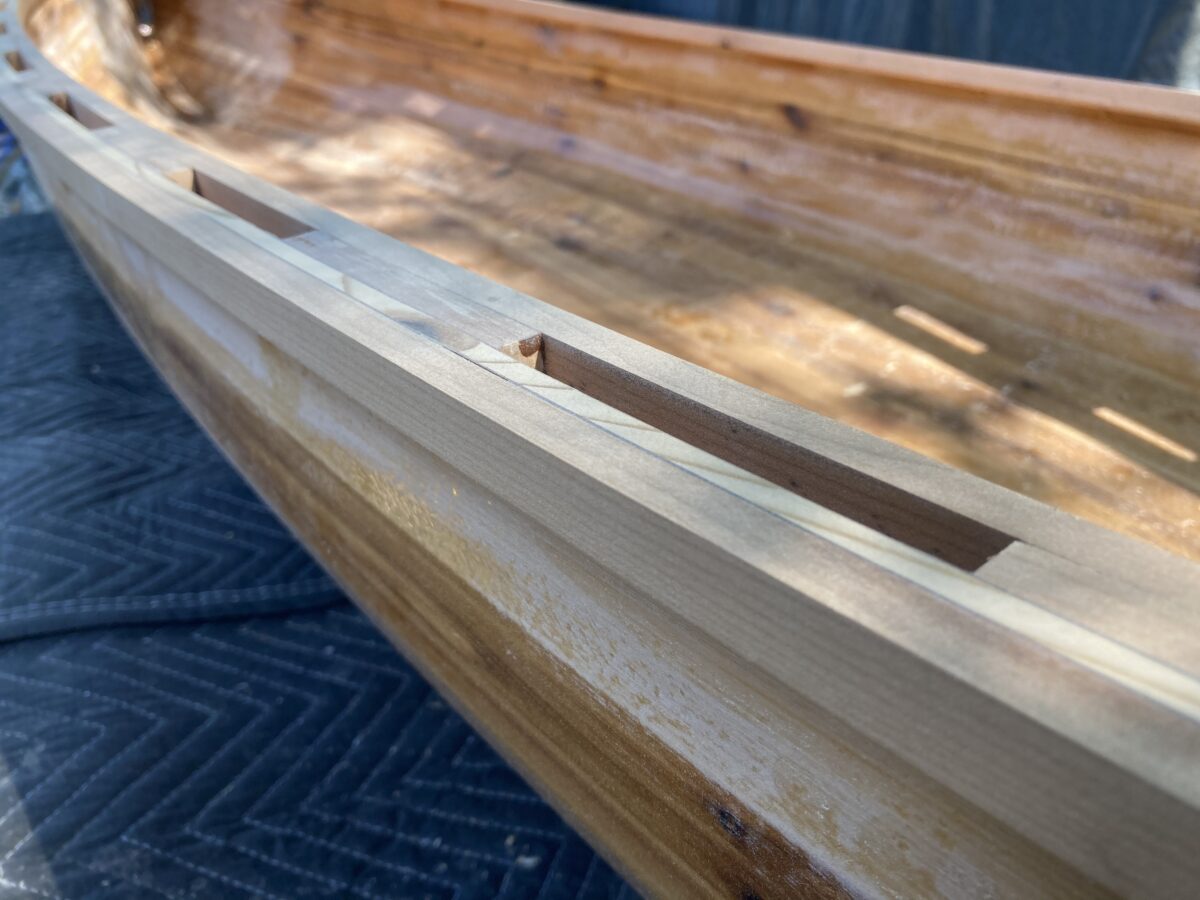
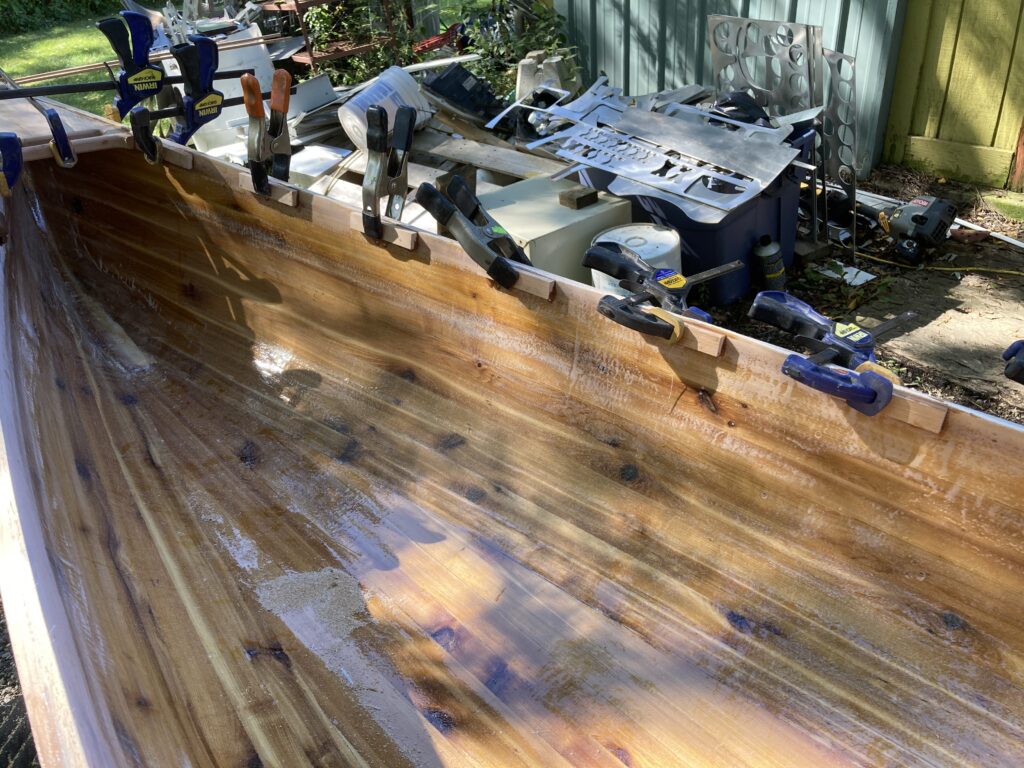
First to go in place was the outer rail. I rounded one side of all the rail pieces before I installed them, since I knew it would be impossibly difficult to get a router in there after they were on the boat. For all the trim, I used epoxy (mixed with a bit of cellulose and sawdust for thickening and structure) as glue, because these joints will not be under fiberglass so they’ll be potentially more exposed to moisture. This worked fine, but it meant that I had to be a little more intentional about planning my work.

The inner rail would go on about the same, but it has drain holes built into it (note: I got to try these out for the first time last week, and they work swimmingly!).
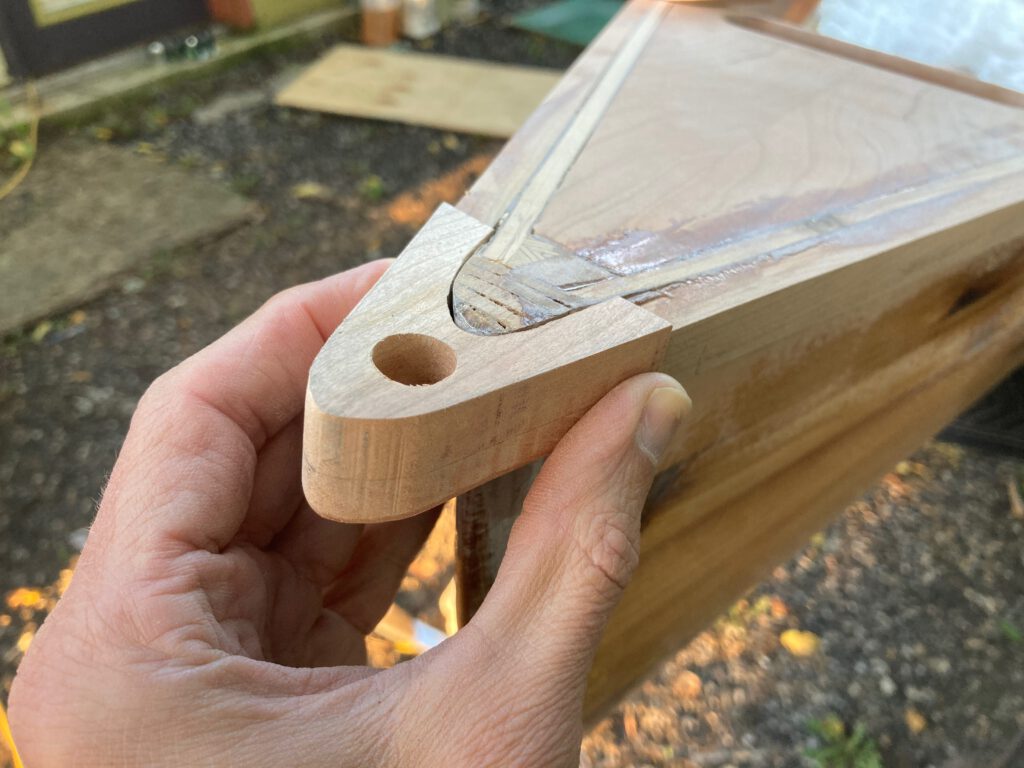
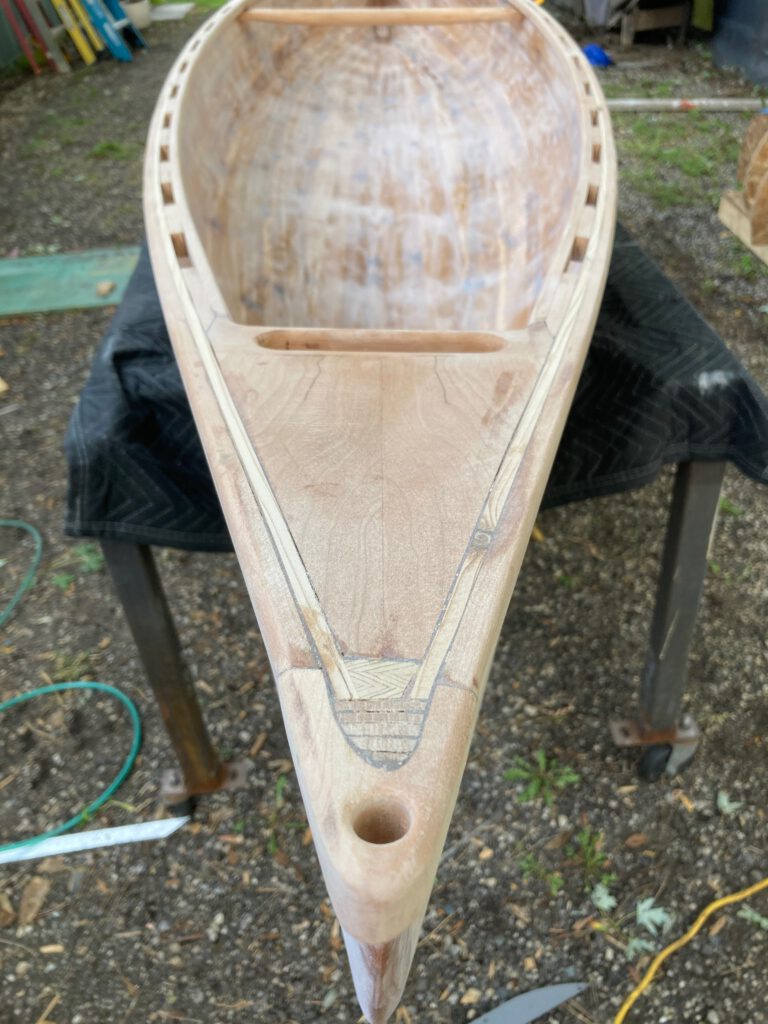
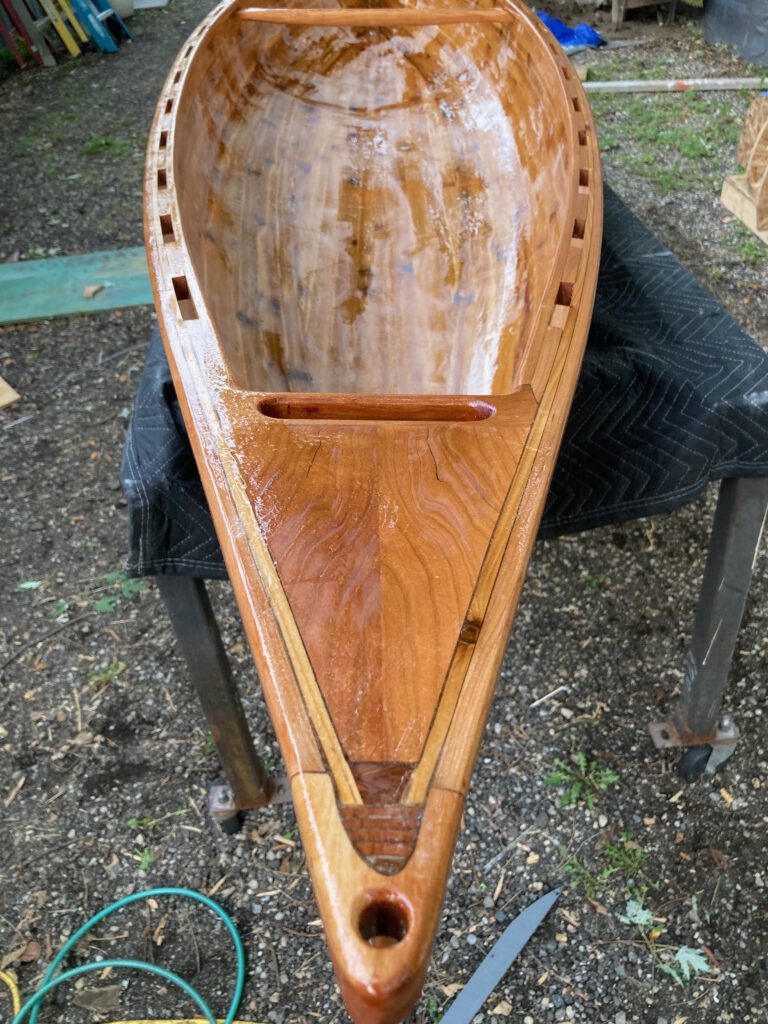
I also added my own touch to the deck plates at the bow and stern, complete with handles and some fancy joinery.
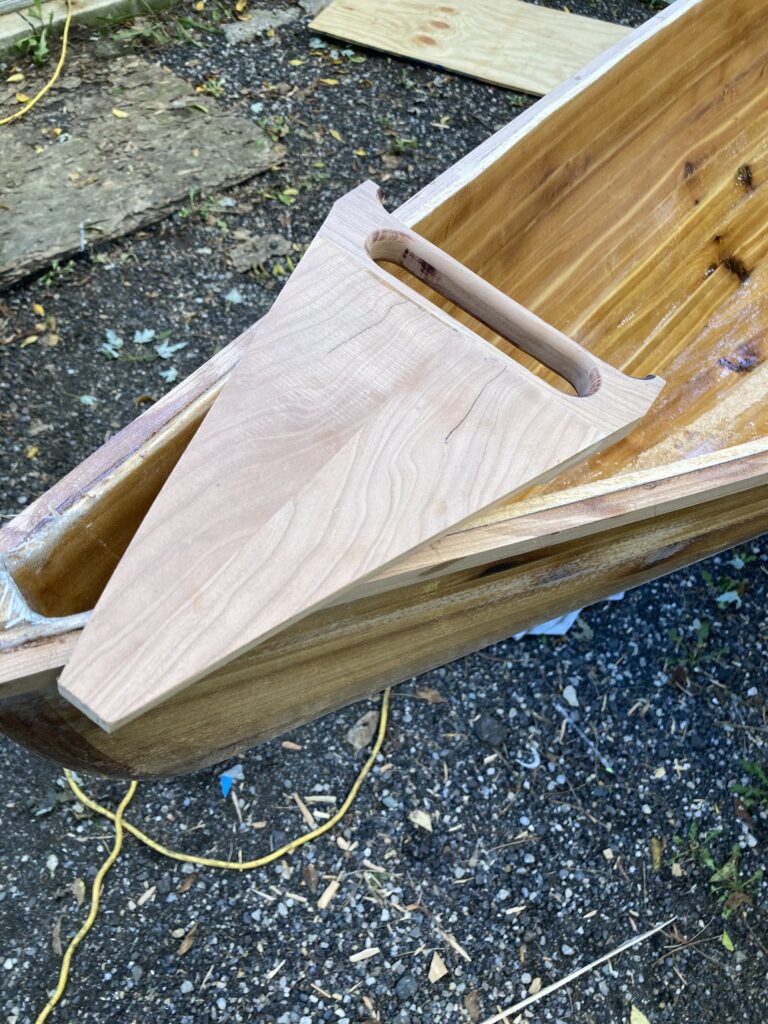

One of the last details was a pair of end pieces to cap the outer rails at the bow and stern. I could have just rounded them off, but why not get creative?

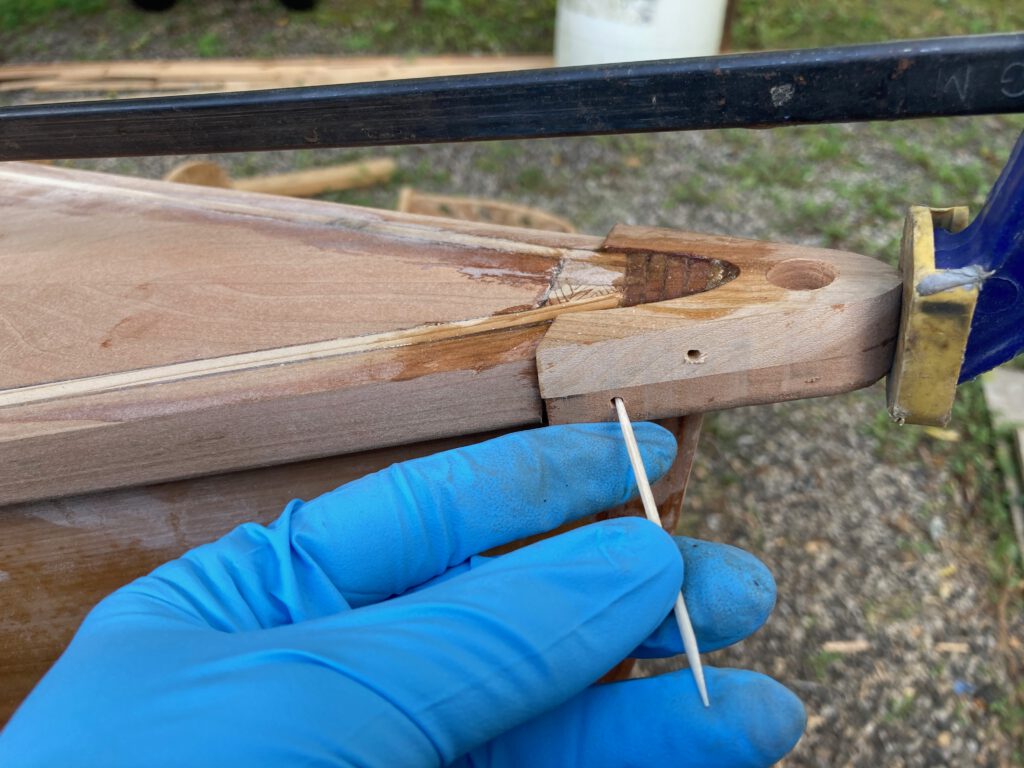
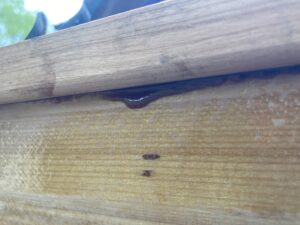
Pro Tip: When using epoxy as glue, clean up drips as soon as possible. If they dry, sand them as soon as possible. Epoxy gets harder and harder and harder as it cures, making sanding increasingly labor intensive!
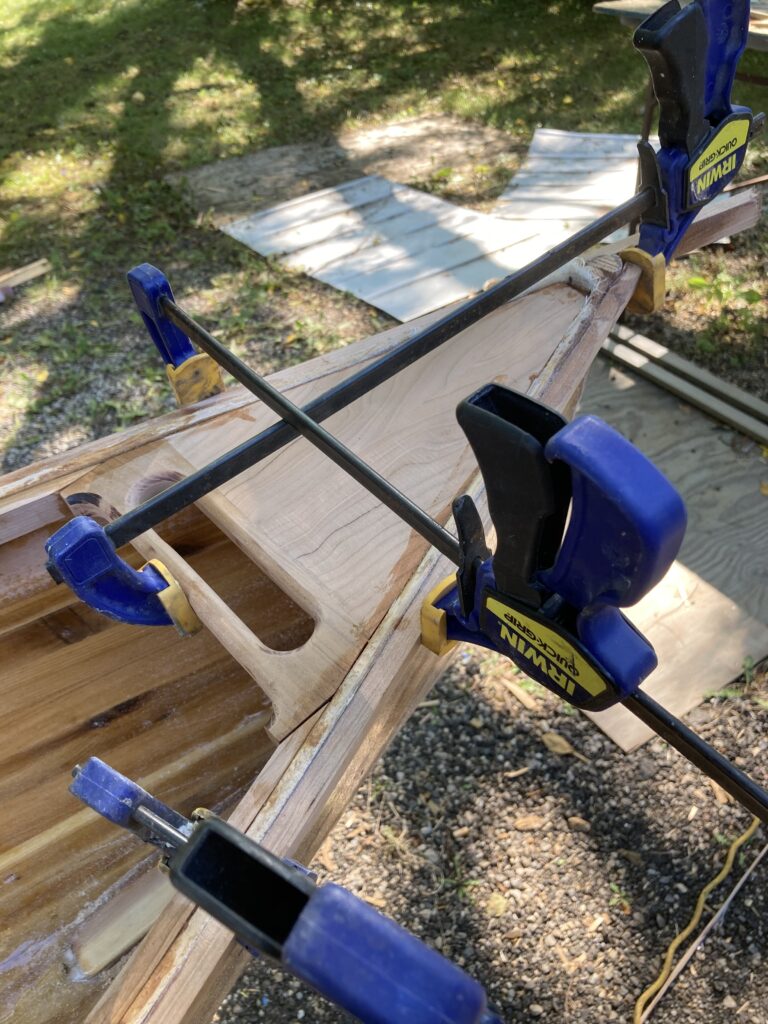
I thought long and hard about one important detail—the seat—before I decided to leave it out. The designer suggested a small seat a mere couple inches off the floor, but I find that I often like to kneel while paddling. Since I ultimately couldn’t decide, I left it out with the thought that I can always add it in later.
Instead of a seat, I anticipated that this stout piece of cherry could serve either as a backrest or a kneeling bar. Of course it also stiffens up the entire canoe.
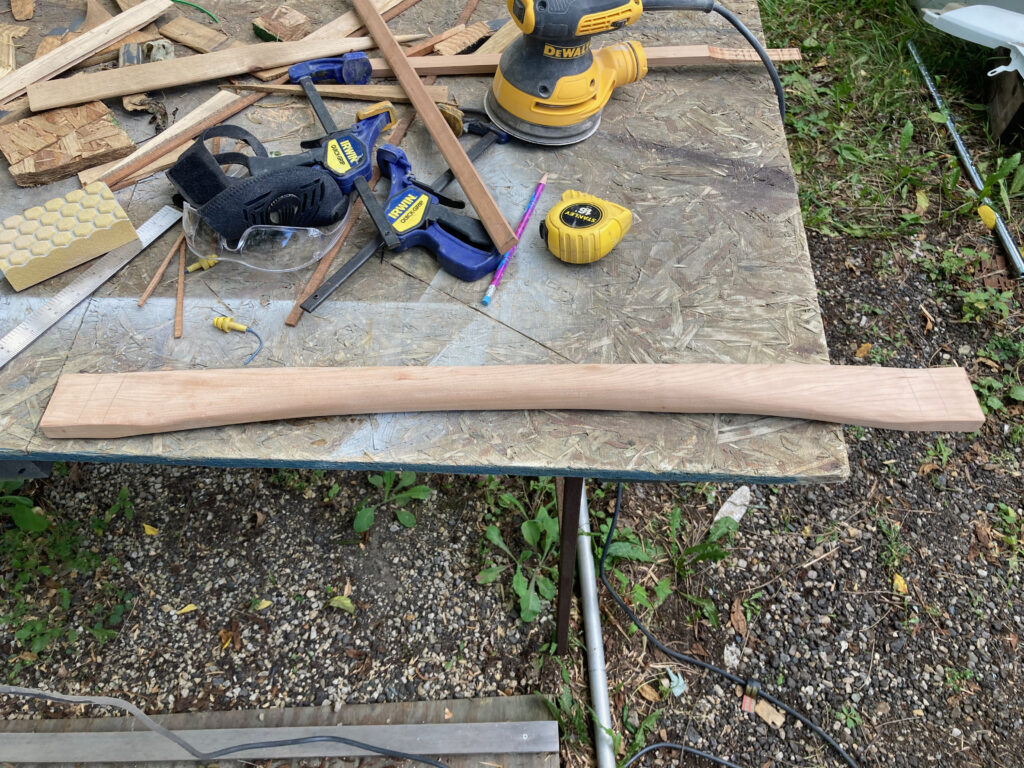
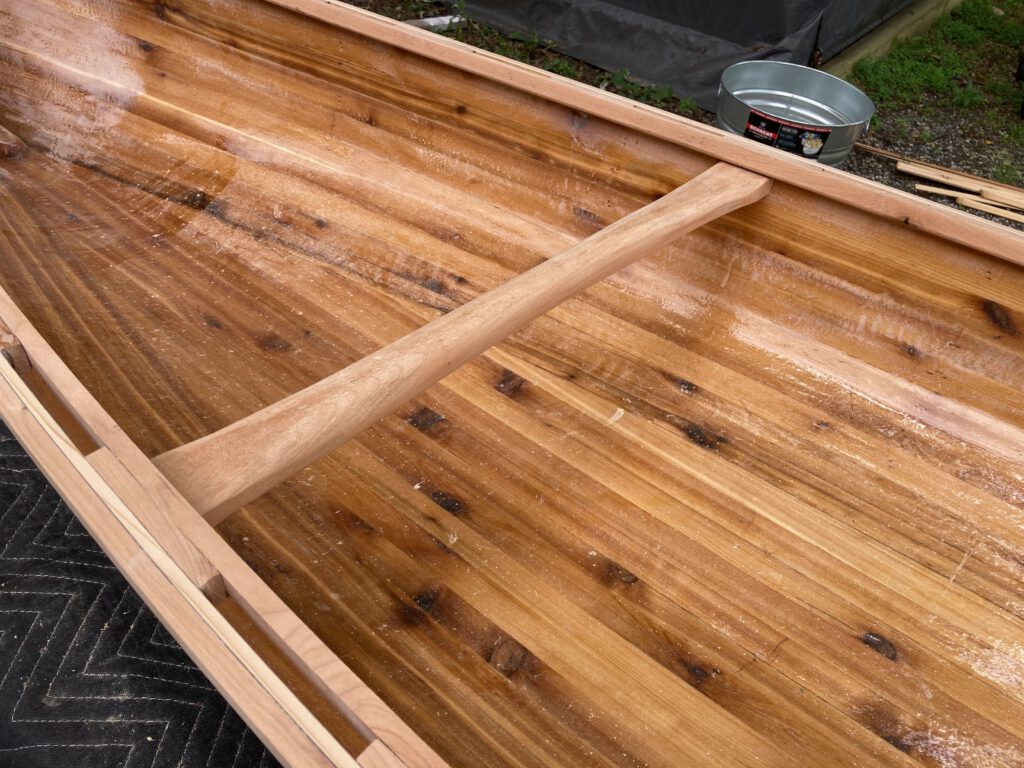
Update: nearly a year into using the canoe, I still don’t have a seat. I love the flexibility of sitting or kneeling, and a pad is all I need to do either comfortably.
Finishing
A final round of sanding and several coats of spar varnish make this project complete.
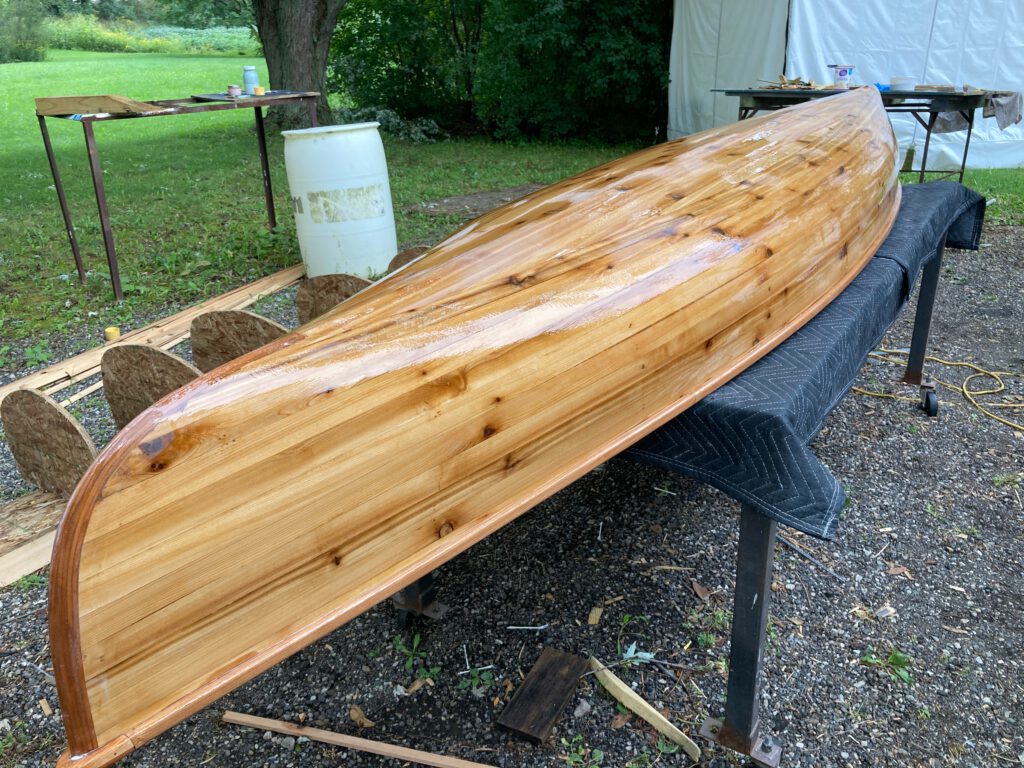
An excruciating wait for the final coat of varnish to sufficiently cure was followed, naturally, by a successful maiden voyage.
Leave a Reply