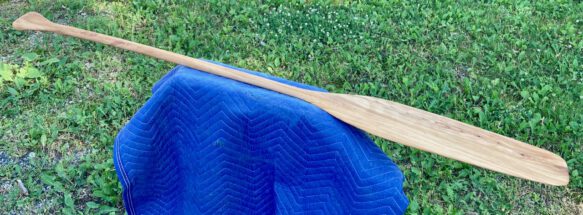
Some time ago I experimented with some scrap wood and an unusual (at least for Americans) paddle design. It’s an otter tail paddle, which I was told is great for quiet, delicate maneuvering in still water. In other words, if you want to sneak up on something, use an otter tail paddle.
As it happens, I really like the design. I ended up using my little scrap wood paddle a lot, and a couple weeks ago it gave out a substantial *crack* as I was going up river. It didn’t snap in half, but it was clear that it’s had enough. So, I figured it was time to make a real otter tail paddle.
Selecting Wood
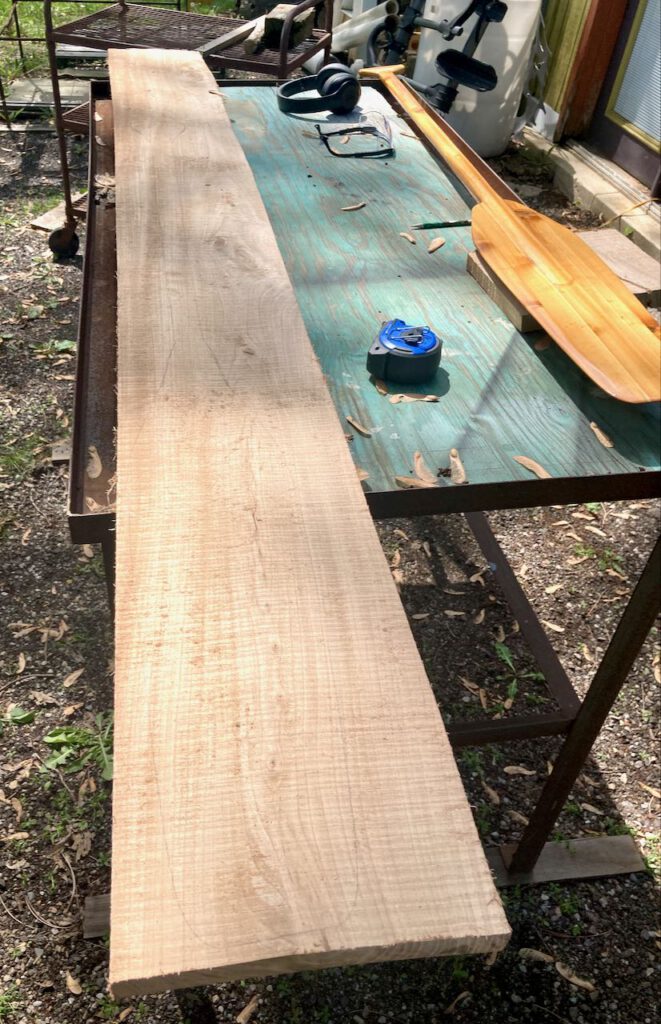
I called up a friend who I knew had a selection of wood. I was actually looking for cherry to use in my next boat, but while I was there he offered me a good price on some other wood. It’s not a wood traditionally used for paddles, and probably not ideal, but it was the perfect size piece and I was able to get it for a really good price. I came home with a chunk of elm sized to carve the entire paddle in one piece.
Carving
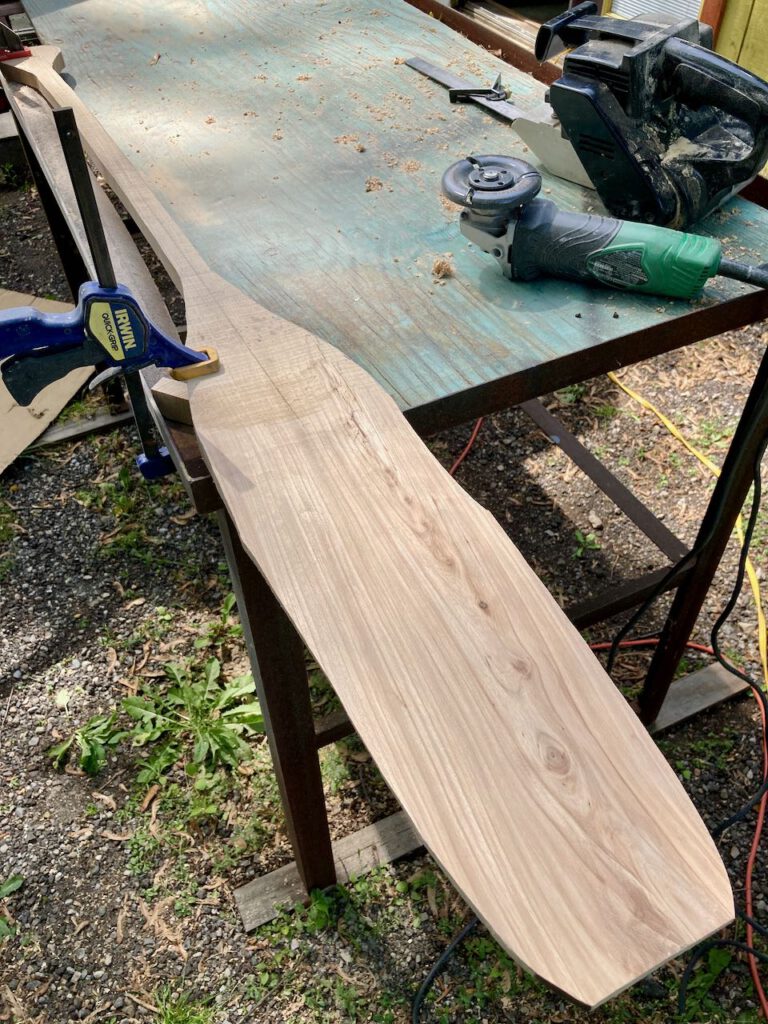
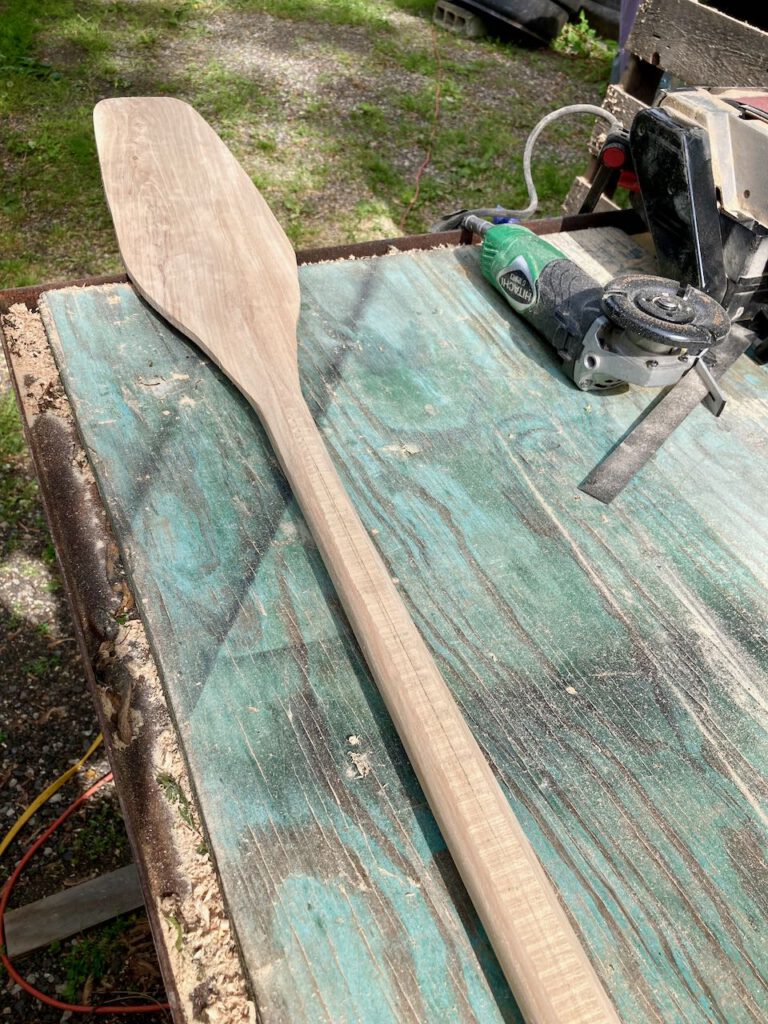
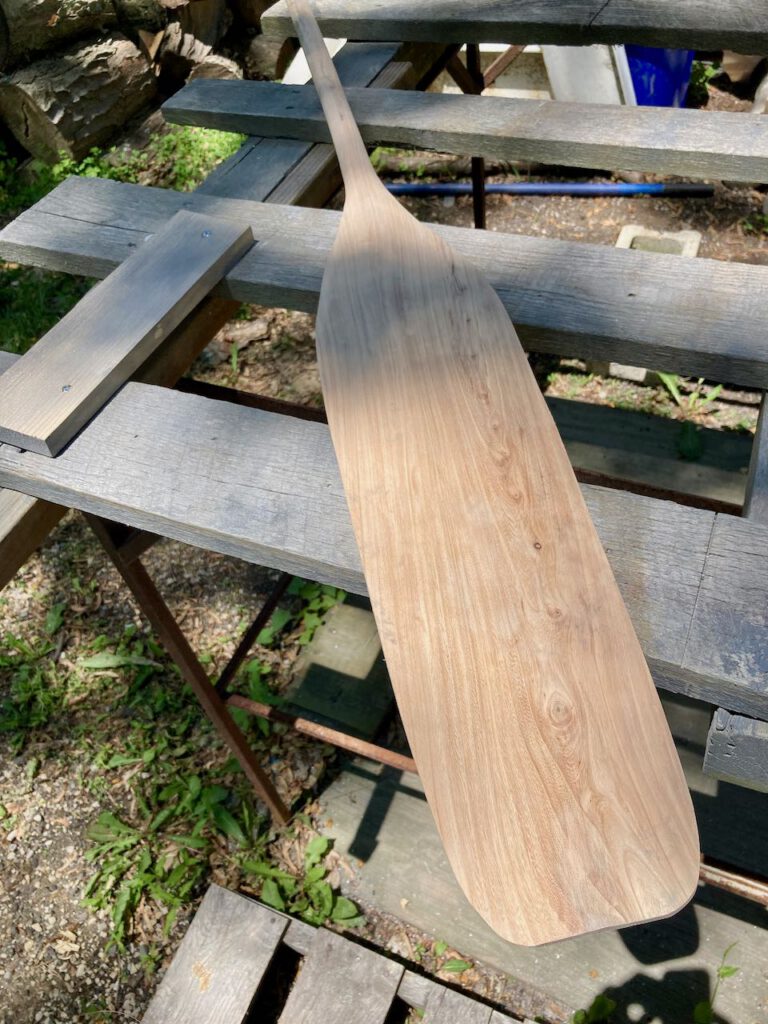
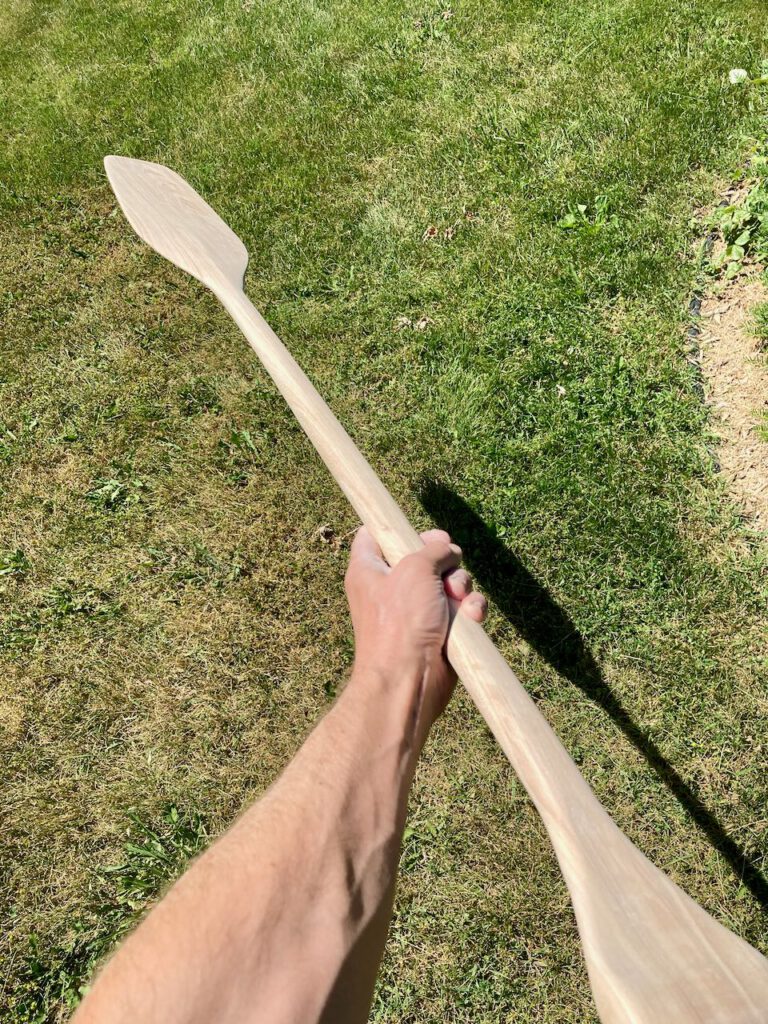
The wood was a bit, shall we say, lively. My wood guy warned me that it might have a lot of internal tension, so when I cut out the rough shape of the blade and (particularly) handle, I left a wide margin so I could cut again more accurately if the wood sprang. Indeed it did, and I let it sit for a week or so to calm down. Even so, when I made my final cut it still sprang another few millimeters. I guess you can’t expect every paddle to be perfectly straight. And why should that be an issue anyway? Nothing else involved (the canoe, the water, or my arms) is straight, so it shouldn’t matter too much. In any case, after rough cutting it with a bandsaw and jigsaw, I got it down to its final shape with a few nifty hand tools: a grinder, a belt sander, and a finish sander. I tried using a simple chisel, but I didn’t have the patience—or the right setup to hold the material in place while whacking away at it.
Speaking of lack of patience, in a couple photos below you’ll see an insane tool: a power plane from Arbortech. My friend let me borrow this because he thought I might be able to employ it, and he was curious how it worked since he hadn’t had much opportunity to use it himself. I practiced on some softer wood and the tool is about the wildest, seemingly most dangerous power tool I’ve ever seen. On the harder elm, though, and a very light touch, it actually was pretty useful. This is not a tool I recommend to anyone for any purpose (especially if you value your flesh), but it does have its value. And maybe it should go without saying, but always use appropriate protective equipment.
Finishing
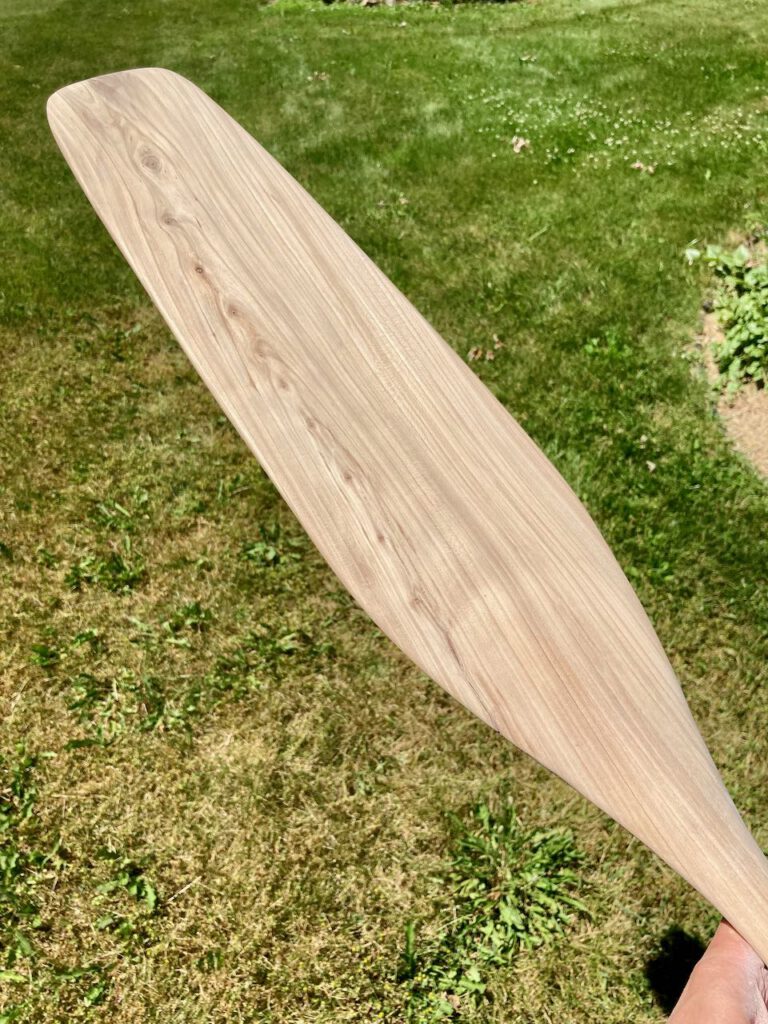
I thought this project would be ideal to see what a traditional linseed oil finish would do for me, so I started that process a couple days ago. Linseed oil has a long drying time—the package says 2-4 days—which means it will be a while before it’s ready to use, but it also means the oil has plenty of time to soak in. So it’ll take a while, but the final finish should be very durable and very water resistant.
Thanks to Ashes Stillwater Boats for the lovely otter tail paddle design (not to mention some of the sexiest wooden boat photography on the Internet). I don’t have specific plans yet, but I think my next canoe will probably be from their Solo Quick design.


Update: Getting it Wet
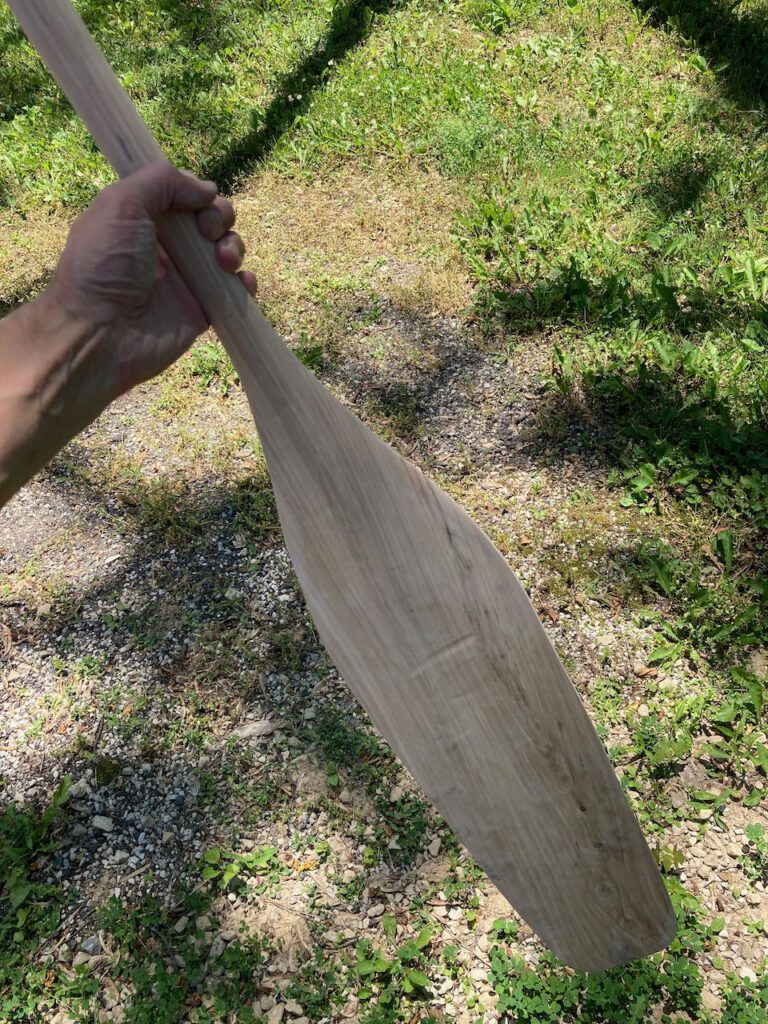
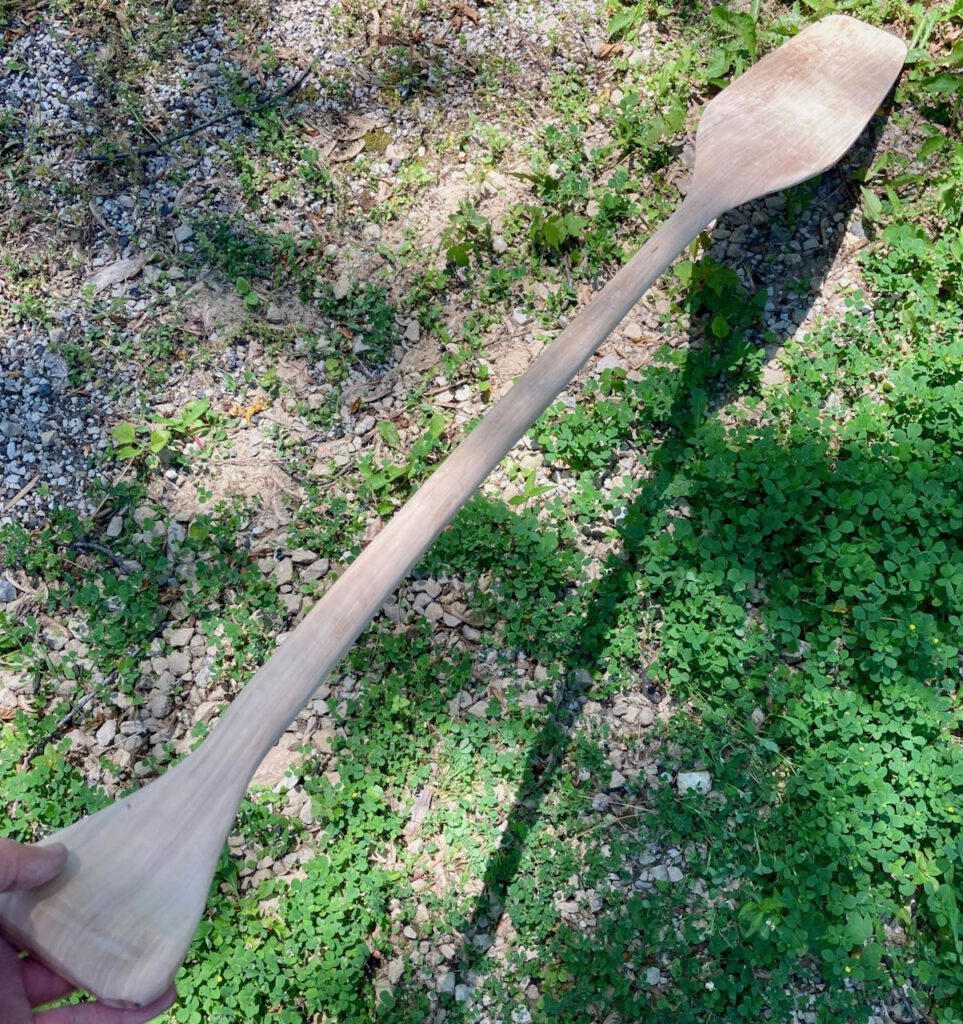
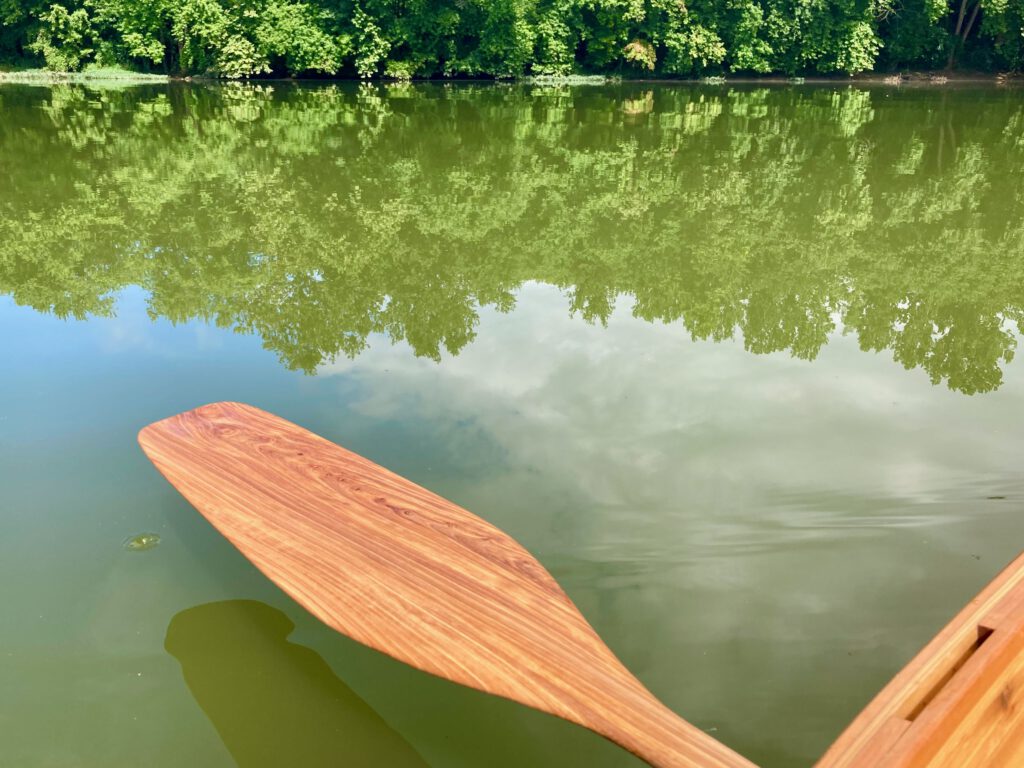
In July I had the occasion to go to Cincinnati and explore parts of the Great Miami River. I really enjoyed this waterway and the scenery around it. I took this opportunity to use my new otter tail paddle for the first time. It was delightful—cuts through the water easily and quietly. Plus, the slight curve in the shaft was actually quite comfortable and helped me get a good angle of the blade in the water.
Leave a Reply