Constructing the hull of my powerboat was hard enough. In fact, it made me a little nervous at the end. Consequently, I didn’t finish the hull in an orderly way. As it turns out, this is not ideal. But I was eager to get fiberglass reinforcement on several weak spots as quickly as possible, so I prioritized that over sanding smooth and prepping the rest. This worked, but it caused more difficulty than I would have preferred getting a smooth and even finish.
Tip for next time: take it slow and do each step as carefully and as cleanly as possible. It’s never as easy trying to come back later to fix it up.
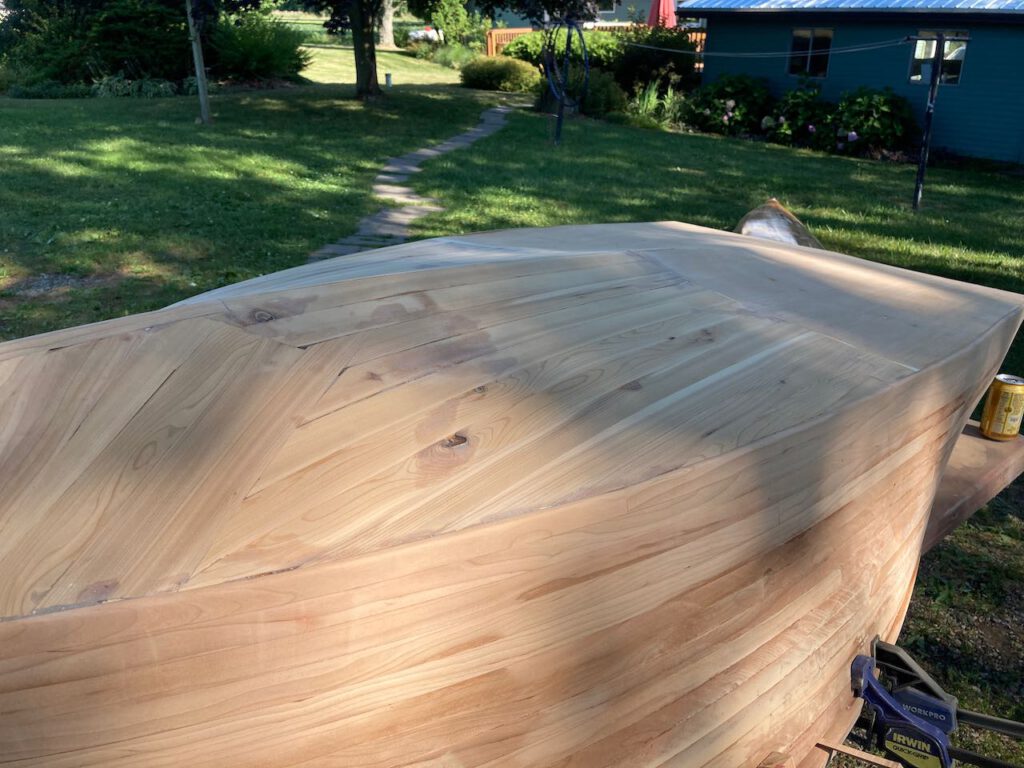
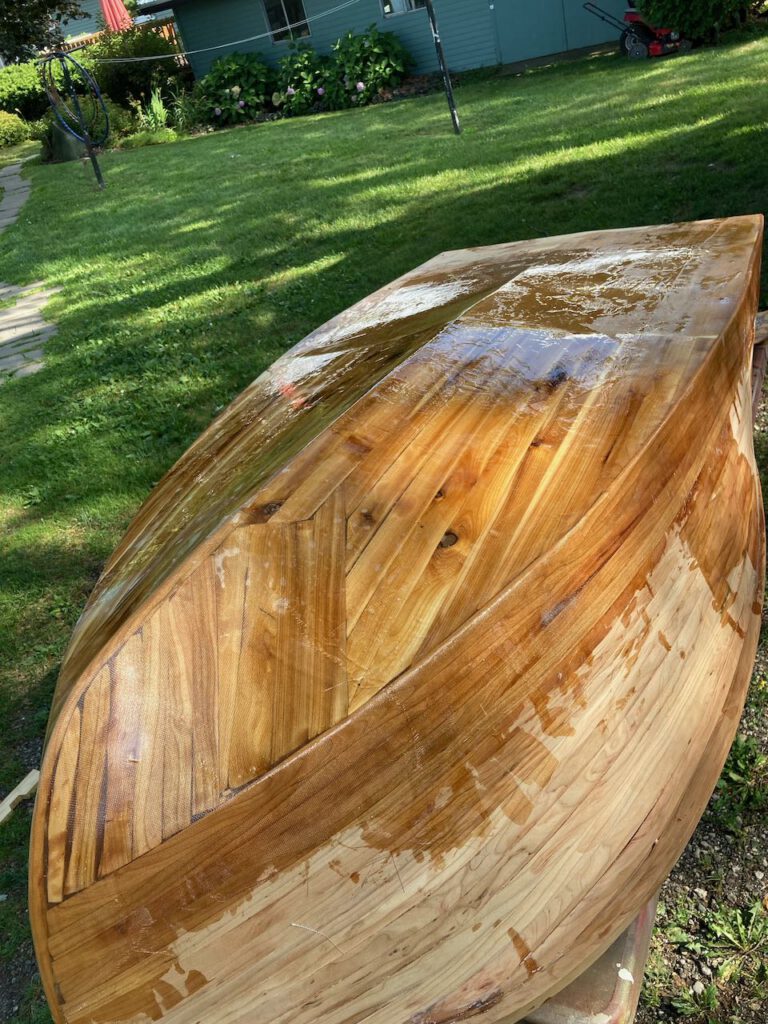
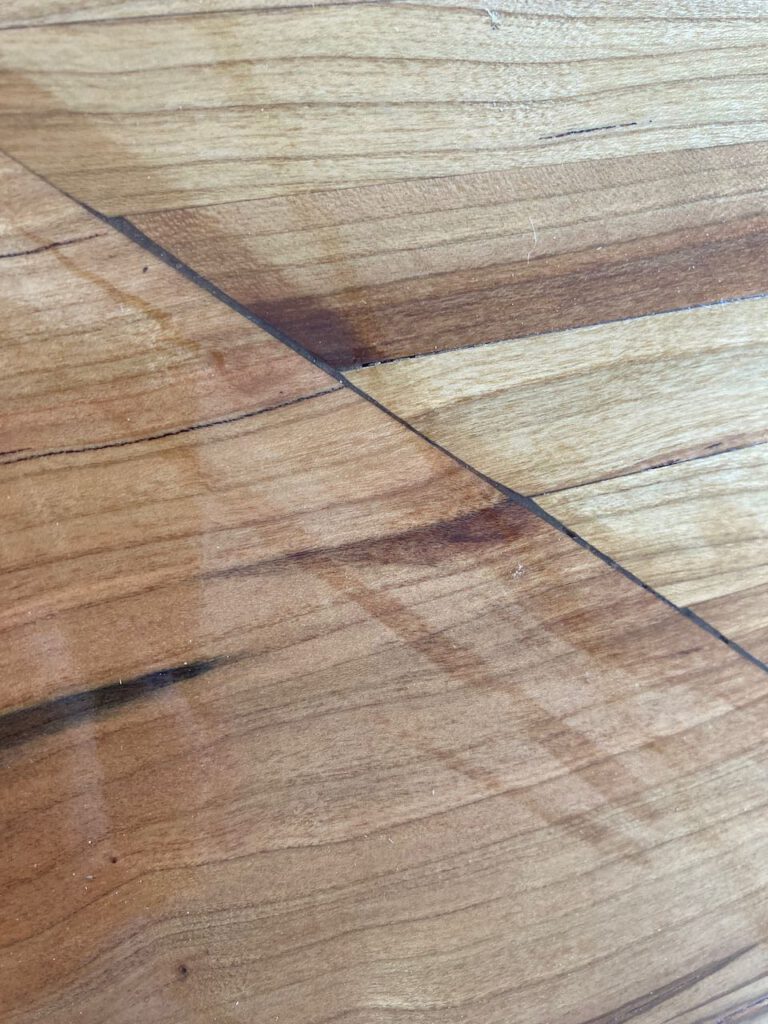
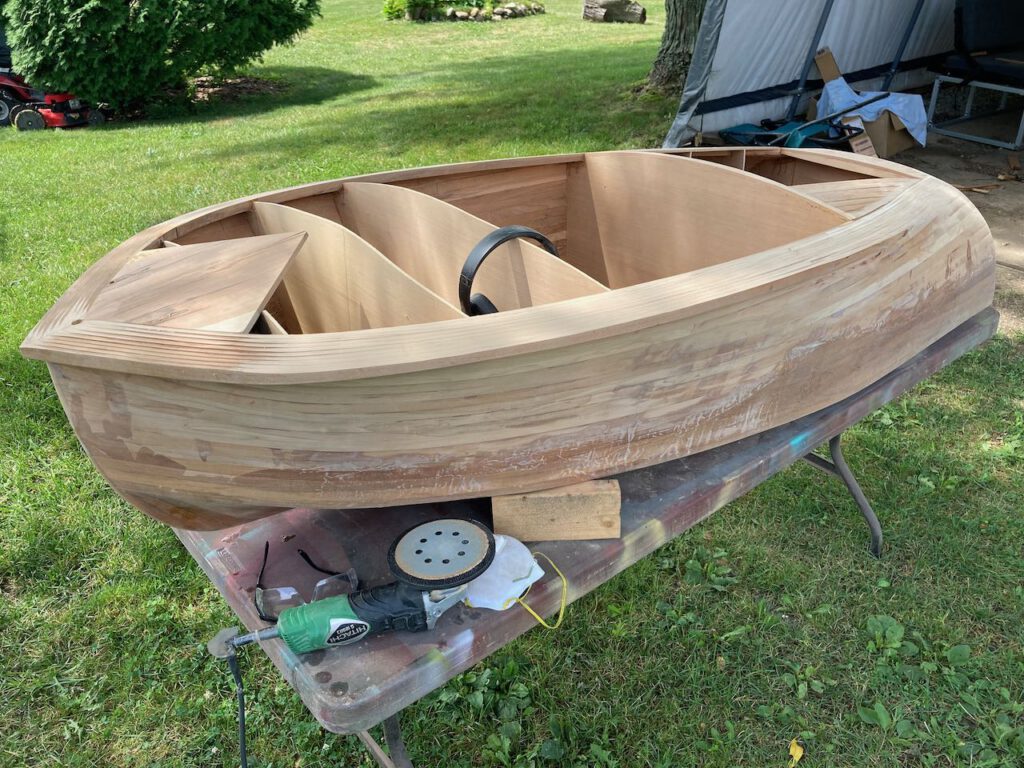
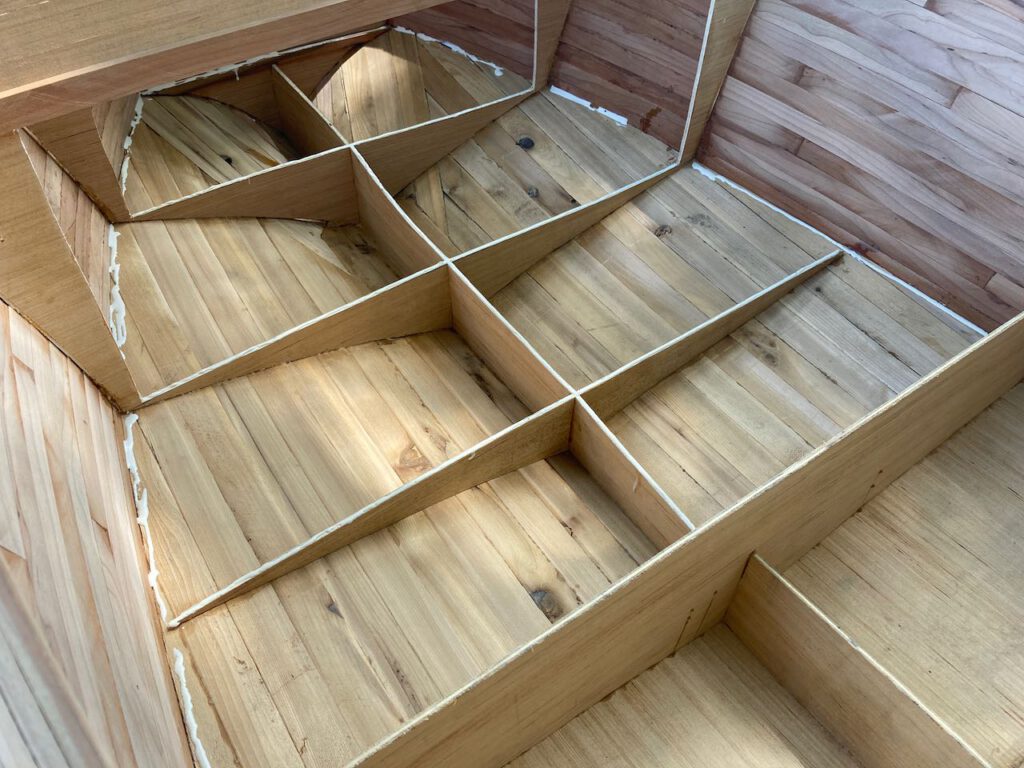
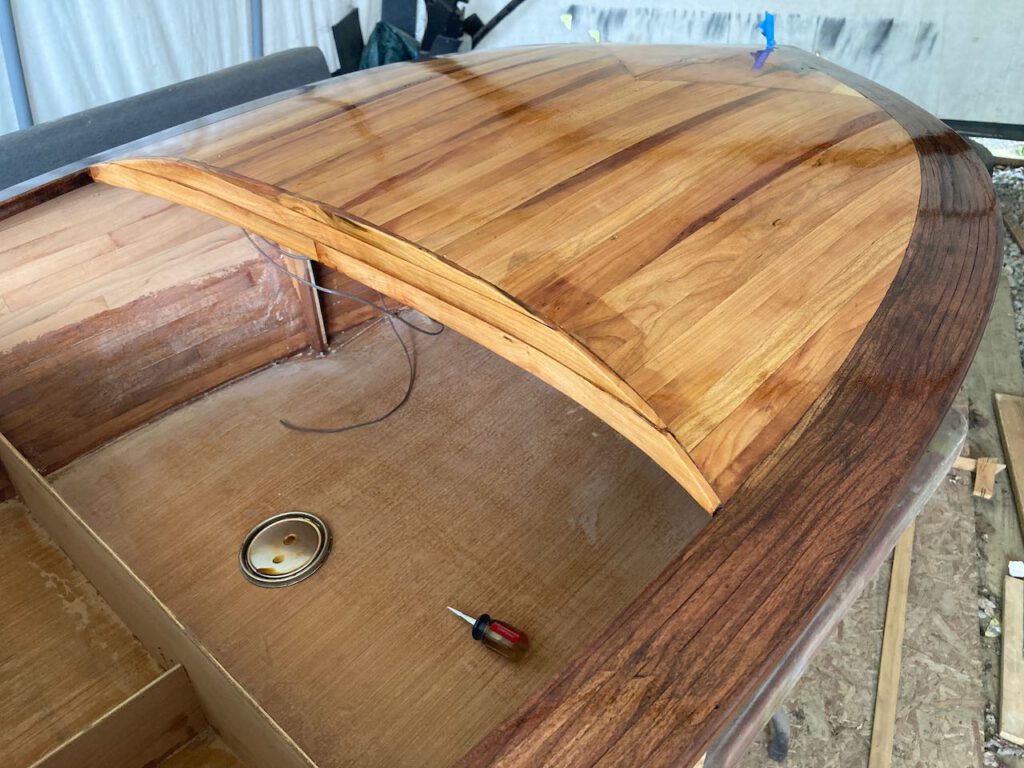
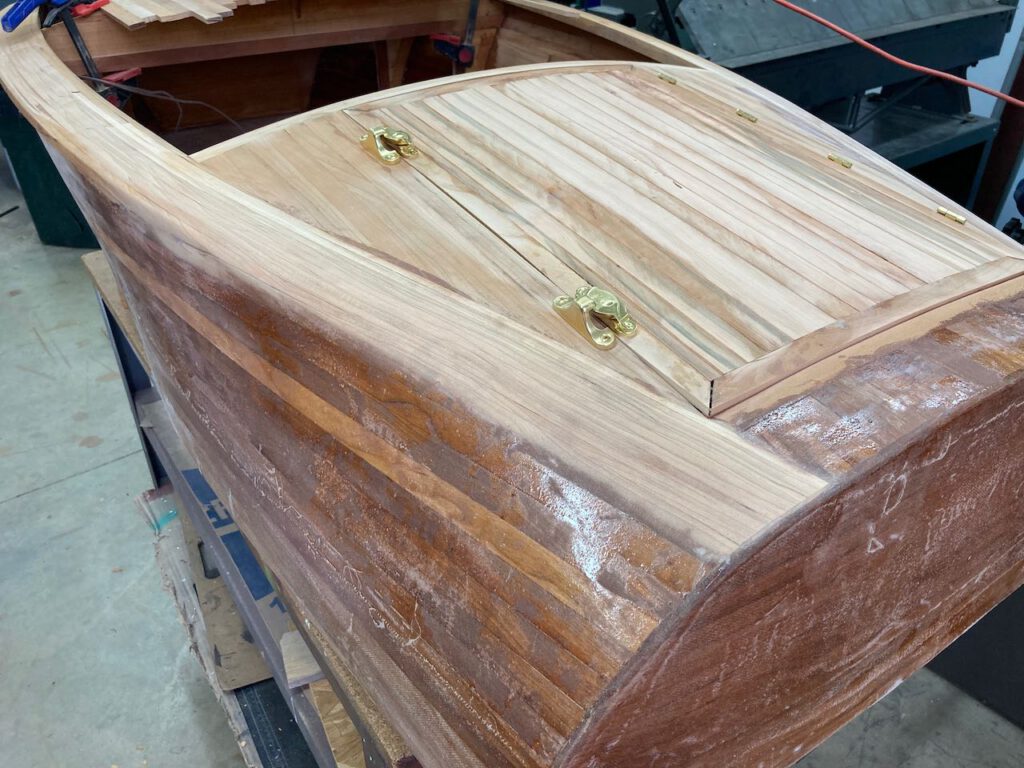
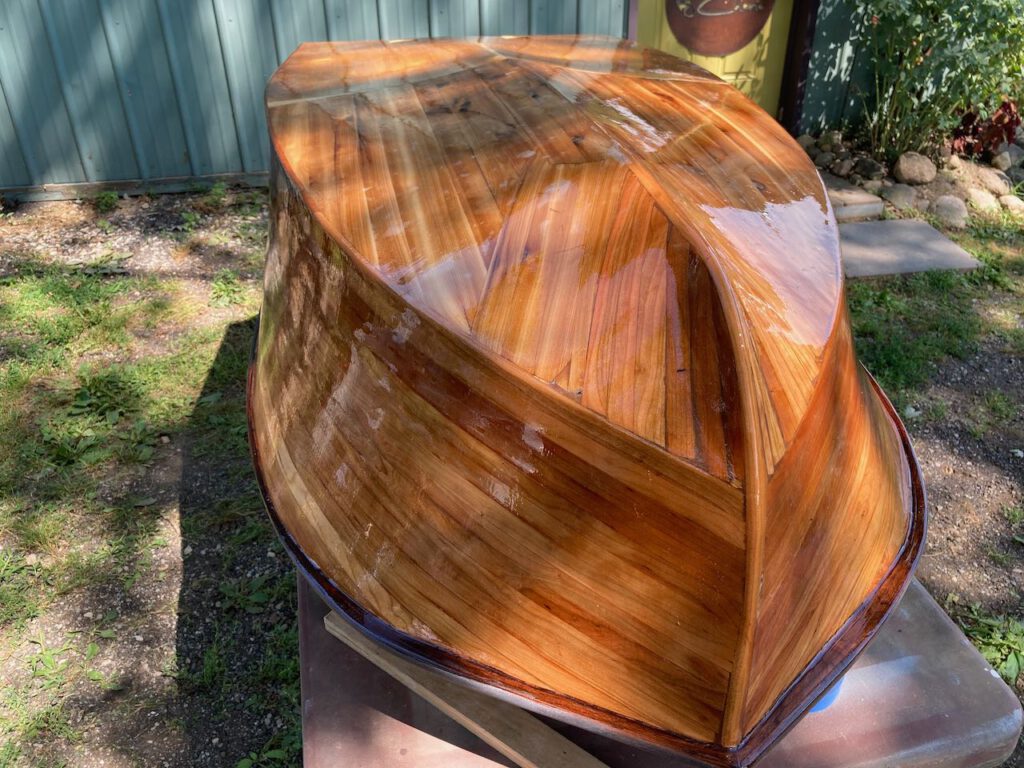
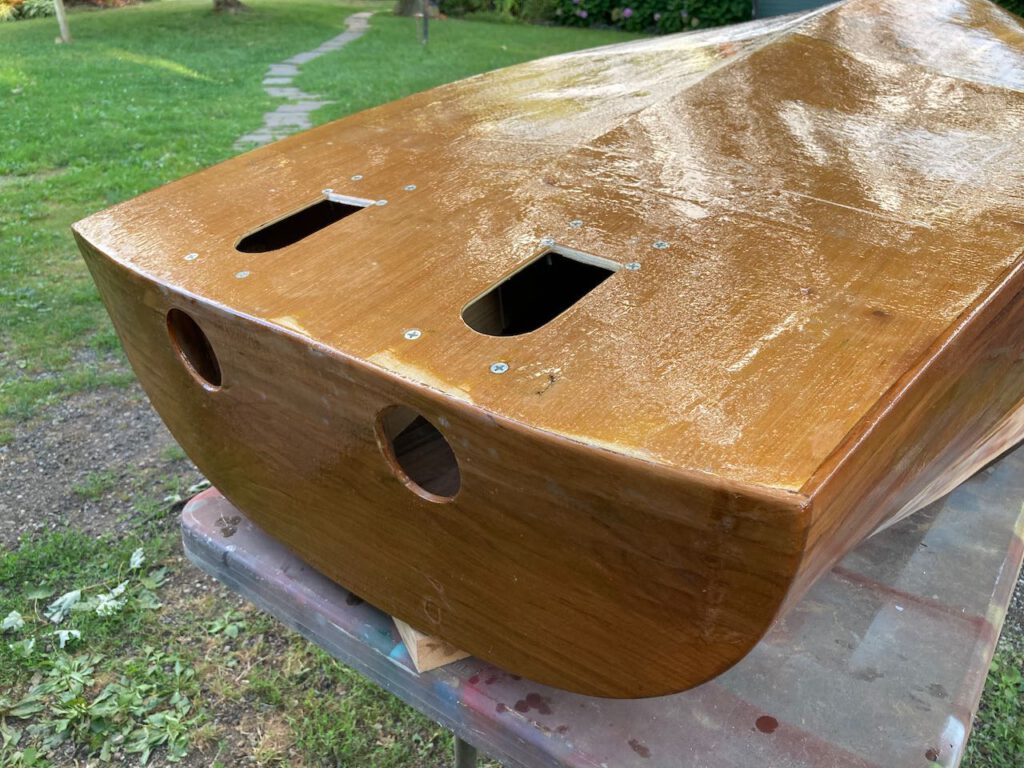
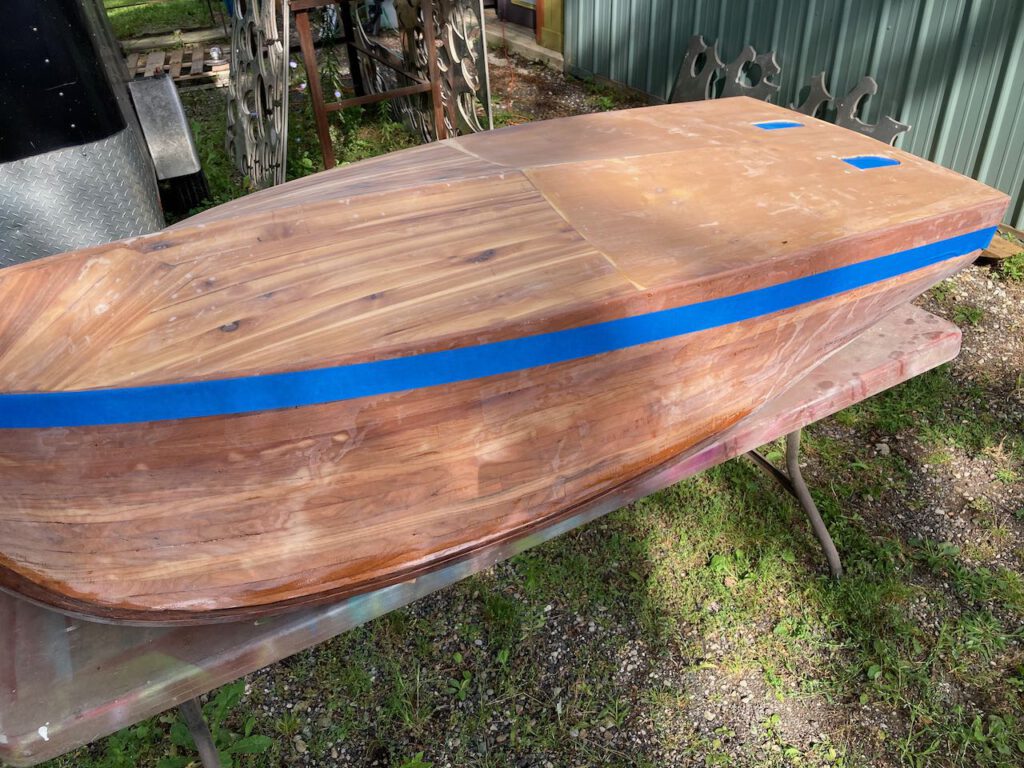
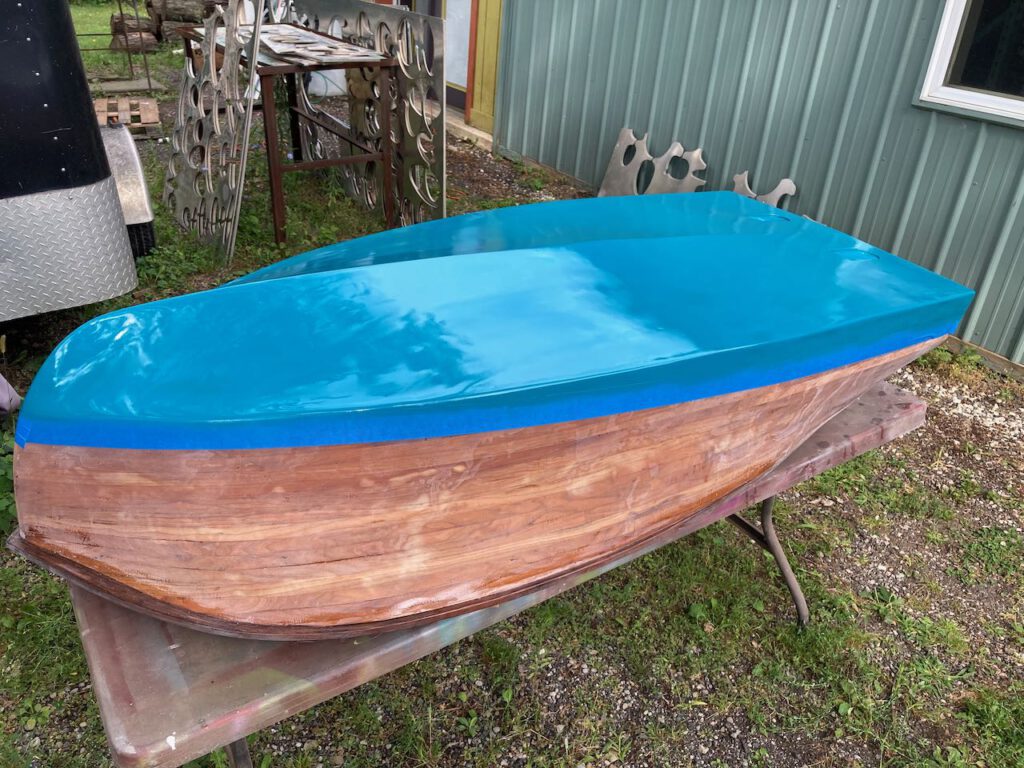
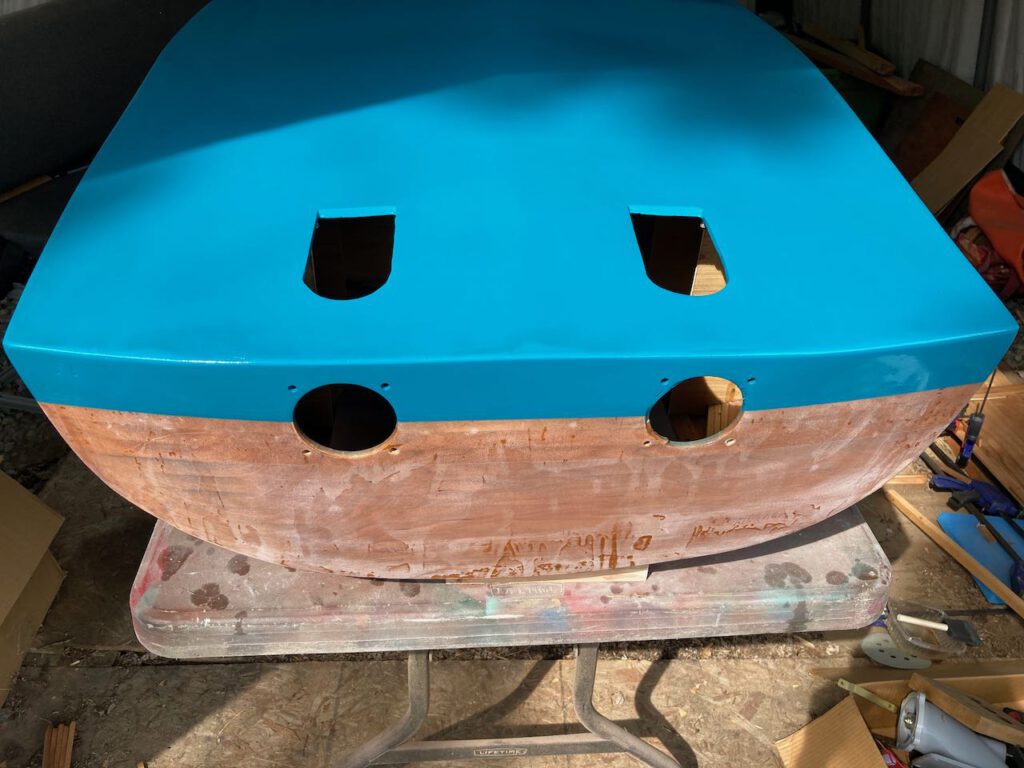
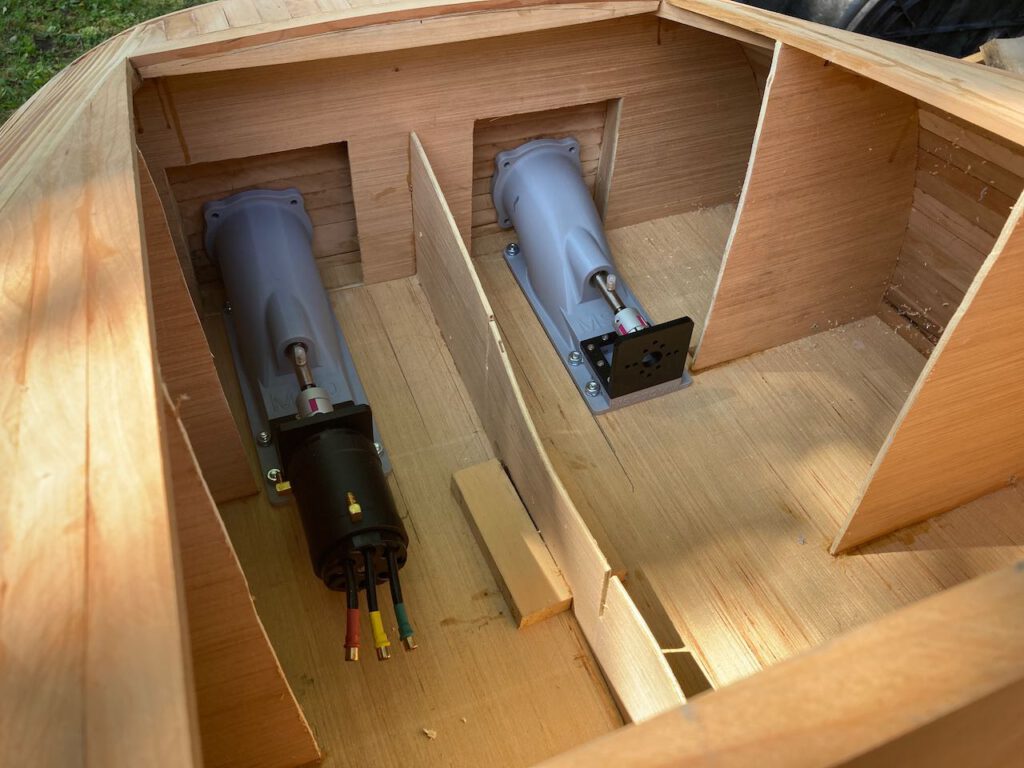
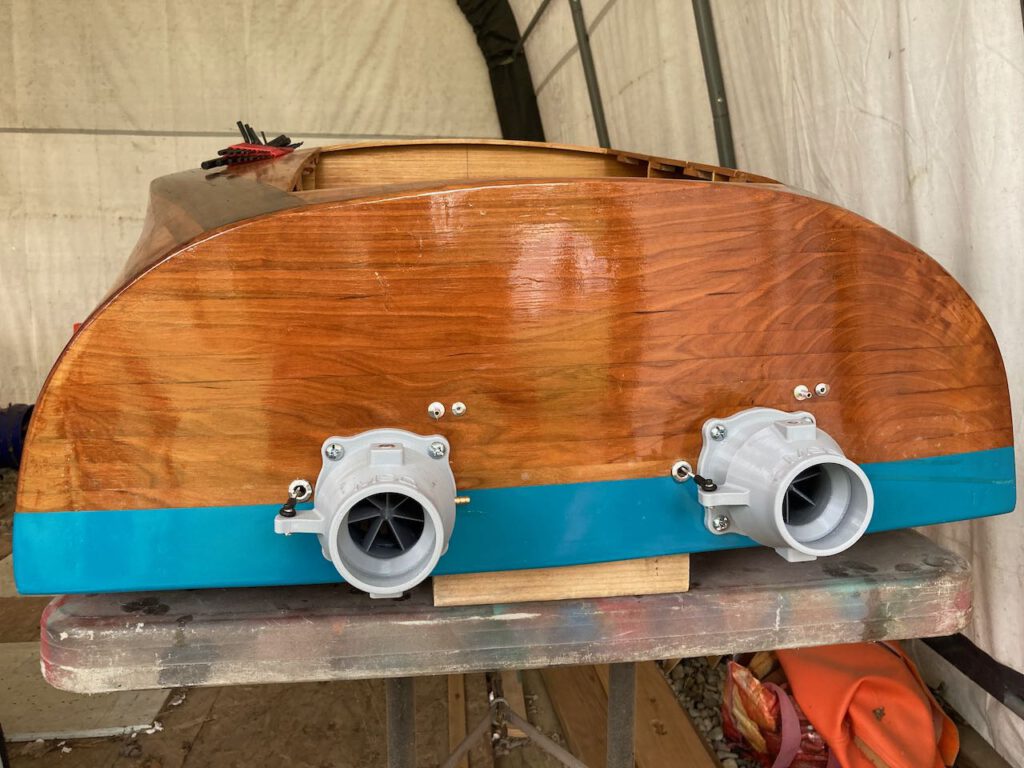
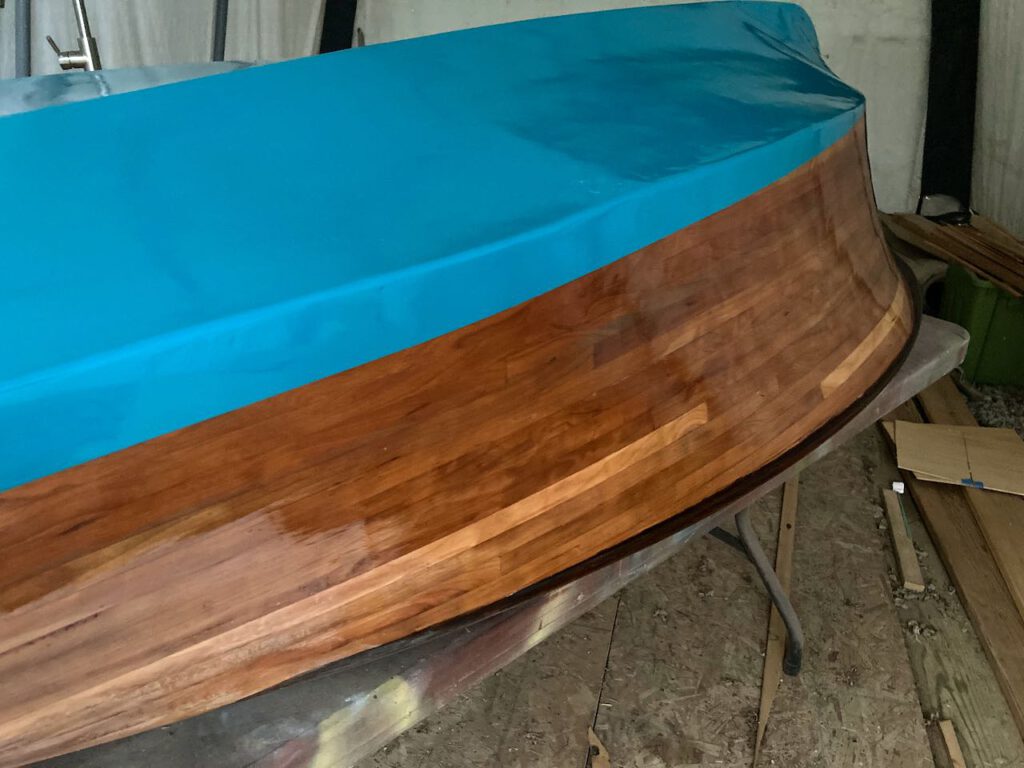
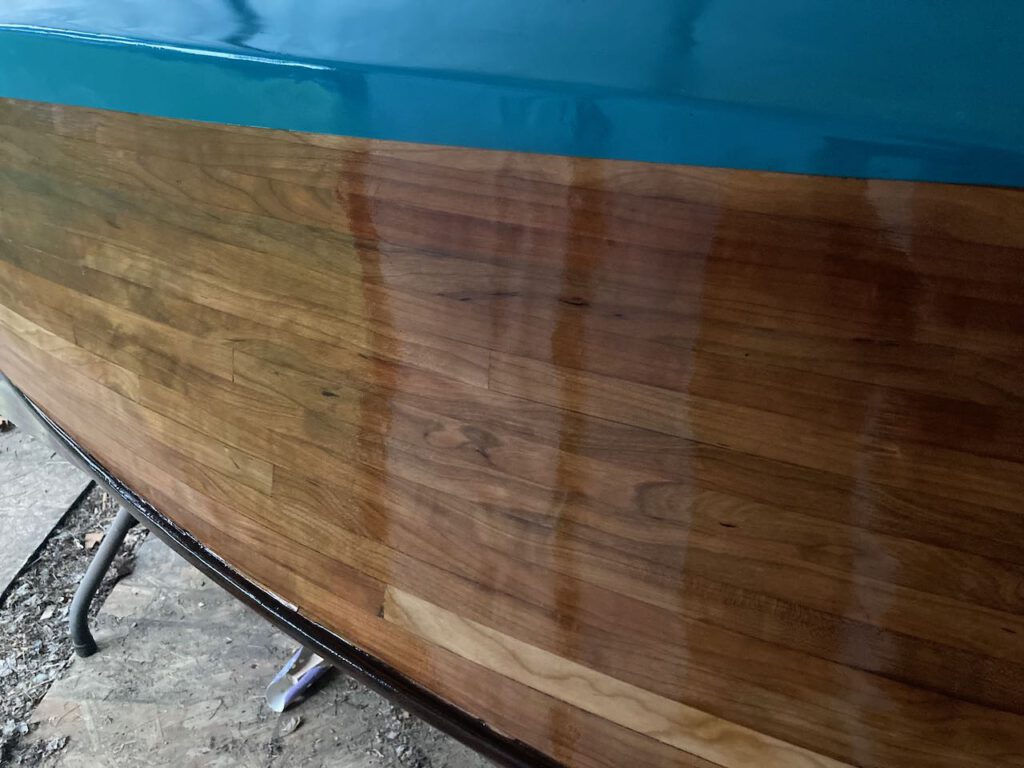
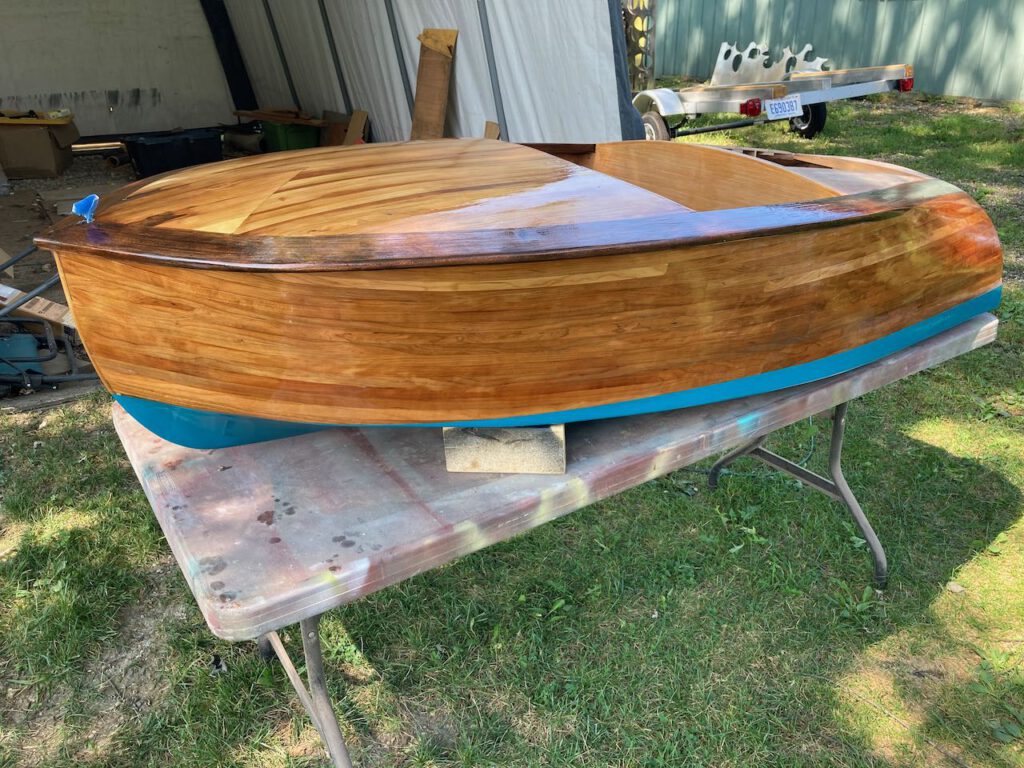
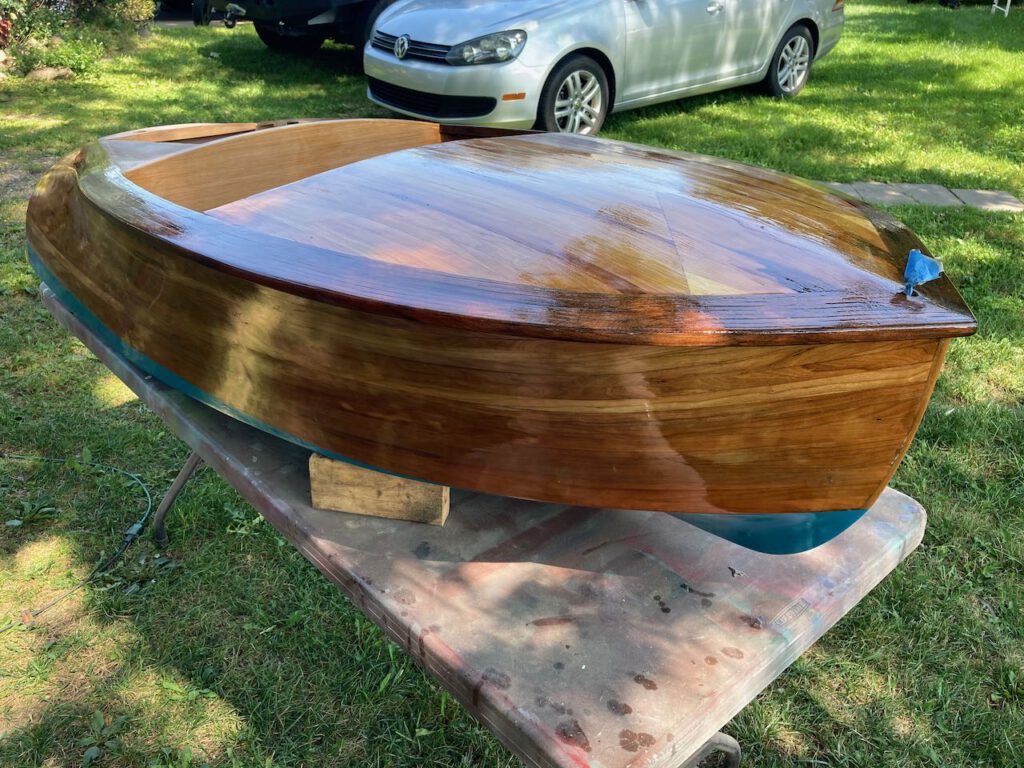
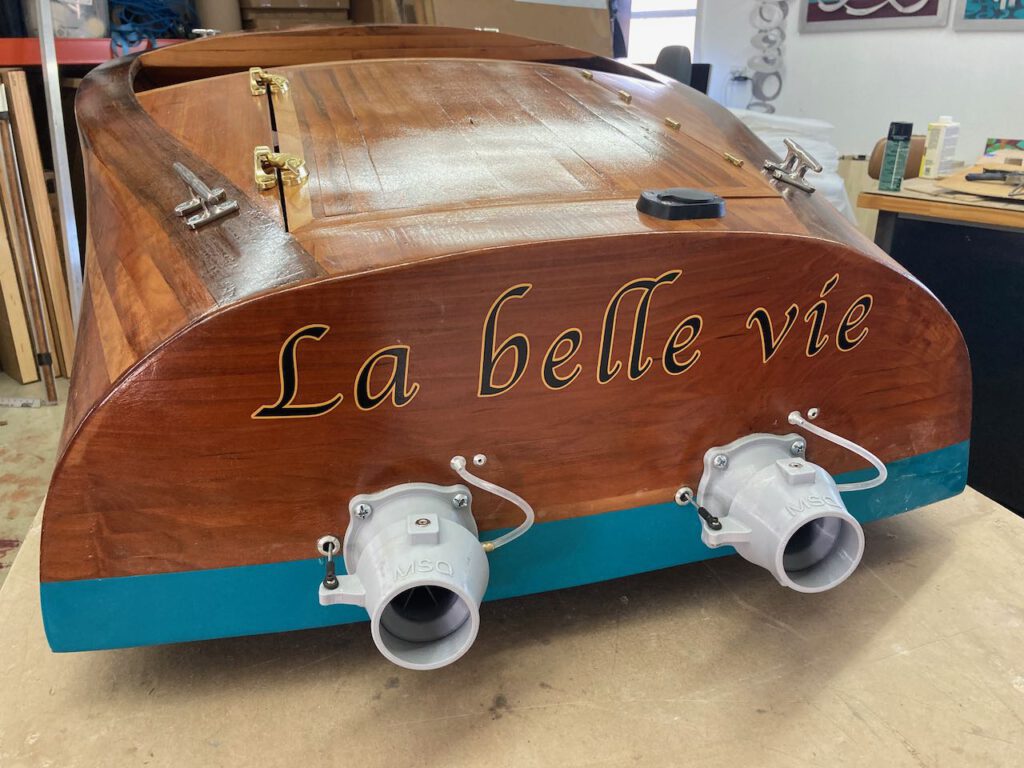
I really had to work on some of the strips on the bottom to get them to stay in place. So I rushed a little bit to get fiberglass over them so I wasn’t so worried about them popping loose.I laid a heavy layer of fiberglass in resin across the bottom, basically everything below the waterline and then some. I figured there was no need to glass the sides, since the cherry wood was pretty hard and sturdy already. In hindsight, it would have saved me some trouble if I just covered the whole thing in resin.A closeup of finished wood shows several dark streaks surrounding a joint. This is the kind of difficulty caused by not covering the entire hull in resin.Once I was satisfied that the bottom of the boat was solid, I flipped it over and finished some woodwork details on top and inside. Just after this shot, and before I laid the foredeck, I cut out some of the bulkheads to make room for my feet.I also installed a floor. The result should be extra sturdy. This view shows the remaining sections of bulkhead that support the visible floor as well as give strength to the true bottom of the boat.Here the floor is installed and the foredeck is in place. This is also a great view of the finished rails, which are stained a mahogany color to accent the natural cherry of the rest of the boat.Toward the stern, another deck and a hatch finishes the woodwork.Upside down once again, the entire underside of the boat is finished in resin.Perhaps the most horrifying part of construction was cutting holes in the bottom of my boat! I will find out later if they are located correctly to receive the jets that will power the boat.A good smooth sanding with some fine grit sandpaper, then some painters’ tape…… and voila, the bottom of the boat is blue. The aesthetic intent is that the boat will be painted below the waterline when it sits in the water, so let’s hope everything is balanced properly for it to line up just right!The holes look pretty intentional here, but I still don’t know if they’ll line up.Here is an interior view of the jets being installed.After some varnish and some other details, I finally get the jets fully installed. It looks great!Then it’s just the tedious but rewarding work of adding coat after coat of varnish to the rest of the boat.Perhaps the best view of the finished boat.Or is this view better?Perhaps most rewarding of all is getting the nameplate affixed to the stern of the boat. It might be a little while before the Christening, but her name is all but official.
Stay tuned for installing the powertrain and electronics!


Leave a Reply